Logmanager is currently available as both a hardware solution and as a virtual machine. The currently supported virtual machine types are VMWare ESXi and Microsoft Hyper-V. These virtual machines have been designed to run on-prem in your datacenter.
Overview
There are two different filetypes that are available. The first is an OVA file, which can be imported directly into VMWare ESXi, and the other is a VHDX disk, which is a virtual hard drive for Hyper-V.
With the OVA file, all configuration options such as memory and vCPUs have been preset. When working with the VHDX file, you will need to set these separately as this is a limitation of Hyper-V.
Requirements
OS Requirements
VMWare: ESXi version 7.0 or higher
Microsoft Windows Hyper-V: Server 2012 R2 or higher
Hardware Requirements
Virtual Logmanager:
Size
EPS
CPU Specifications
RAM
Storage
S
1000
4 vCPU with at least 1600 points single core in PassMark
32GB
4 TB HDD type (at least 200 IOPS)
M
2000
8 vCPU with at least 1700 points single core in PassMark or 6 vCPU with at least 1900 points single core in PassMark
64GB
12 TB HDD type (at least 300 IOPS)
L
5000
16 vCPU with at least 1900 points single core in PassMark
64GB
40 TB HDD type (at least 700 IOPS)
XL
10000
32 vCPU with at least 2700 points single core in PassMark
128GB
3 TB SSD - type storage (at least 10k IOPS) + 120 TB HDD - type storage (at least 700 IOPS)
Additional disks
It is necessary to add an extra disk for Virtual Logmanager and for Virtual Logmanager vm. The additional disk is used for data storage/cache.
In either case, additional drives can be added successively as needed to increase the cache/storage. Removing or shrinking an already initialized drive is not supported, so do not start with an unnecessarily large one.
Also take care not to exceed the overall storage size given for particular size of Logmanager according to the Hardware requirements table.
Getting Virtual Logmanager and Virtual Logmanager vm
The installation files for VMWare and Hyper-V are available from your partner, or contact us using our website.
Deployment to VMware
The VMWare version of the virtual Logmanager is provided in OVA format, which can be imported into either ESXi or vSphere. Virtual Logmanager is pre-configured by default. The number of virtual CPUs can be changed according to the EPS you need to process. The size of the virtual drive for system drive cannot be changed.
The OVA packages contain all of the settings required to start the virtual Logamanager.
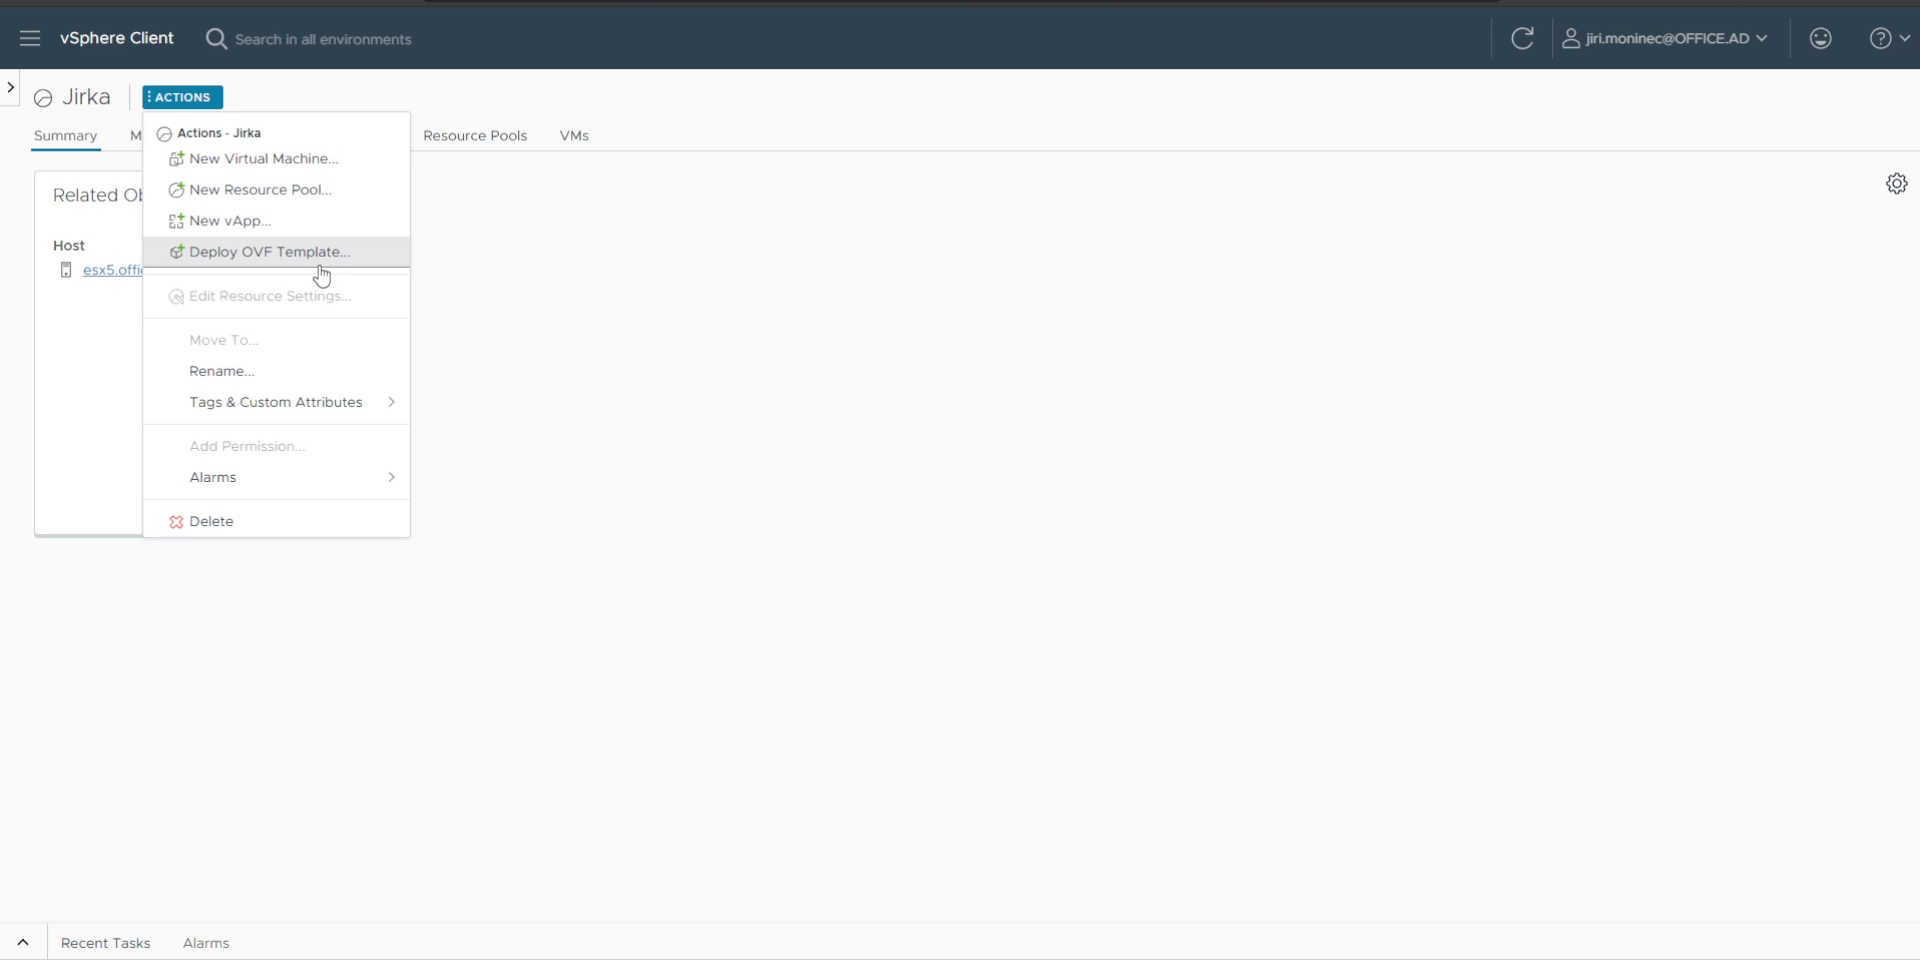
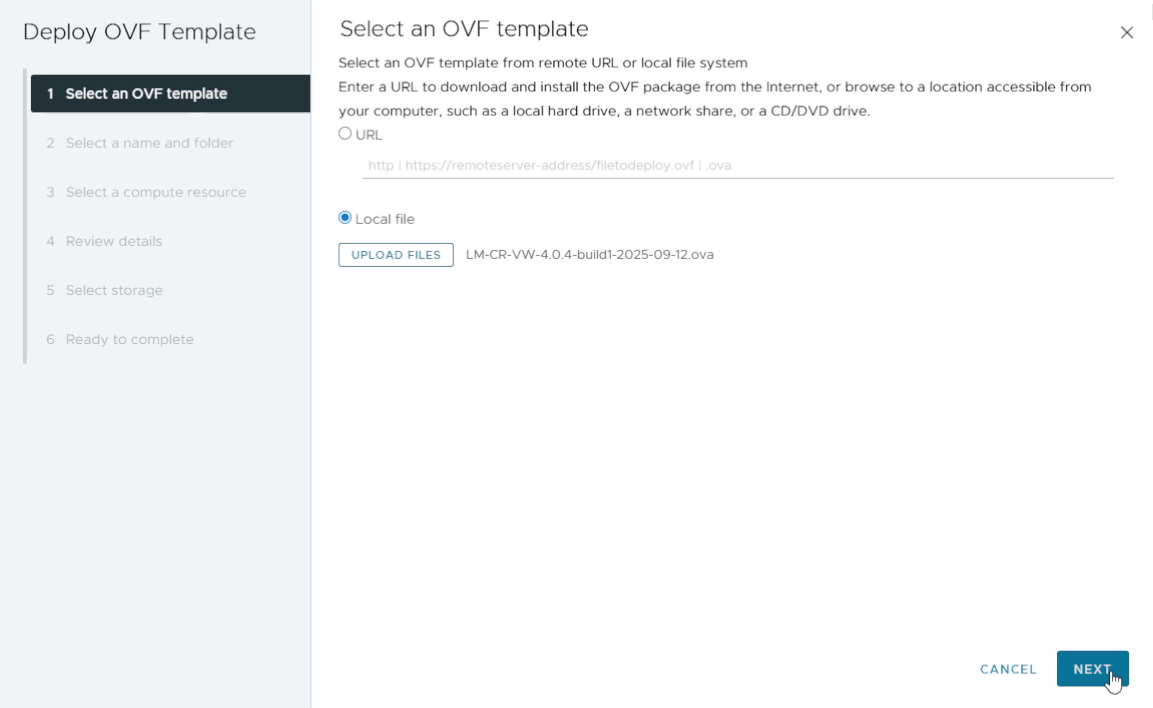
Select your downloaded OVA file and click NEXT button
Select your downloaded OVA file
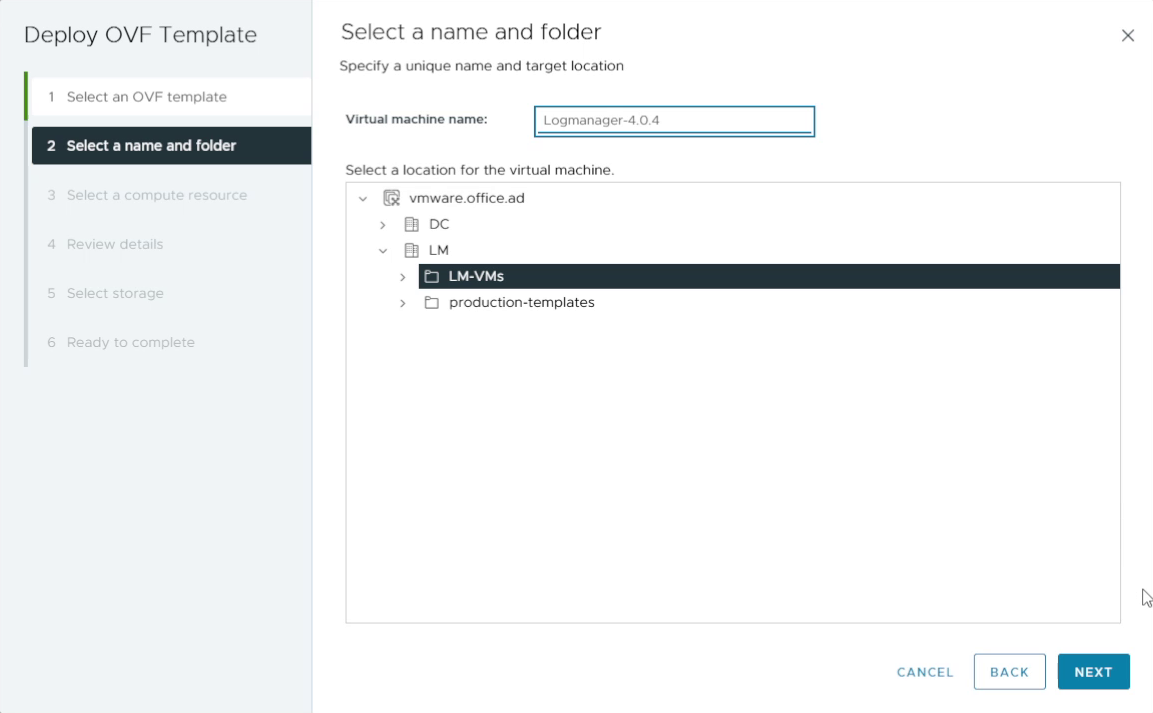
Put the name and folder for your VM, click NEXT button
Put the name and folder for your VM
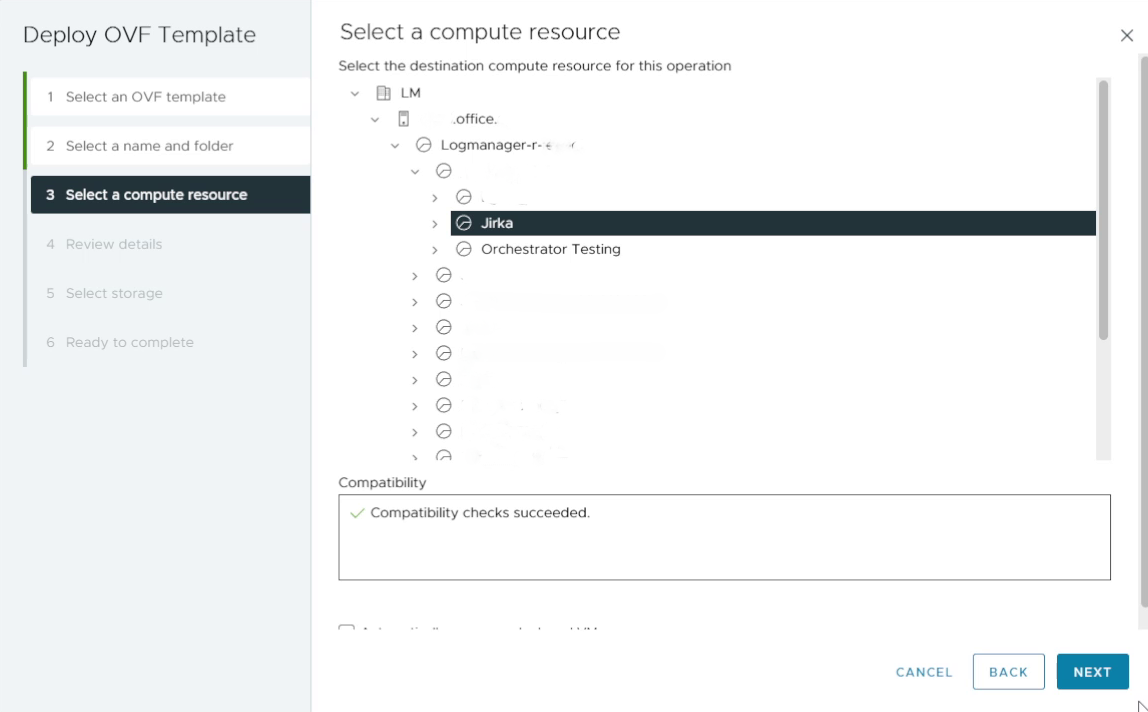
Select compute resource and click NEXT button
Select compute resource
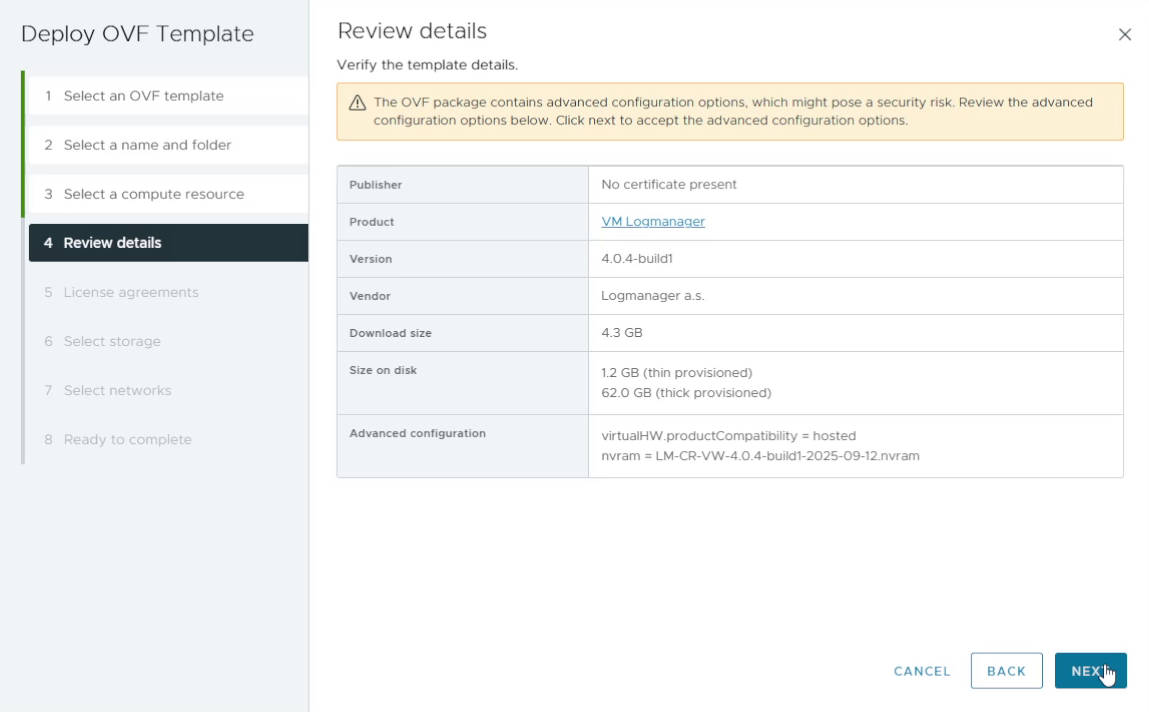
Review details and click NEXT button
Review details
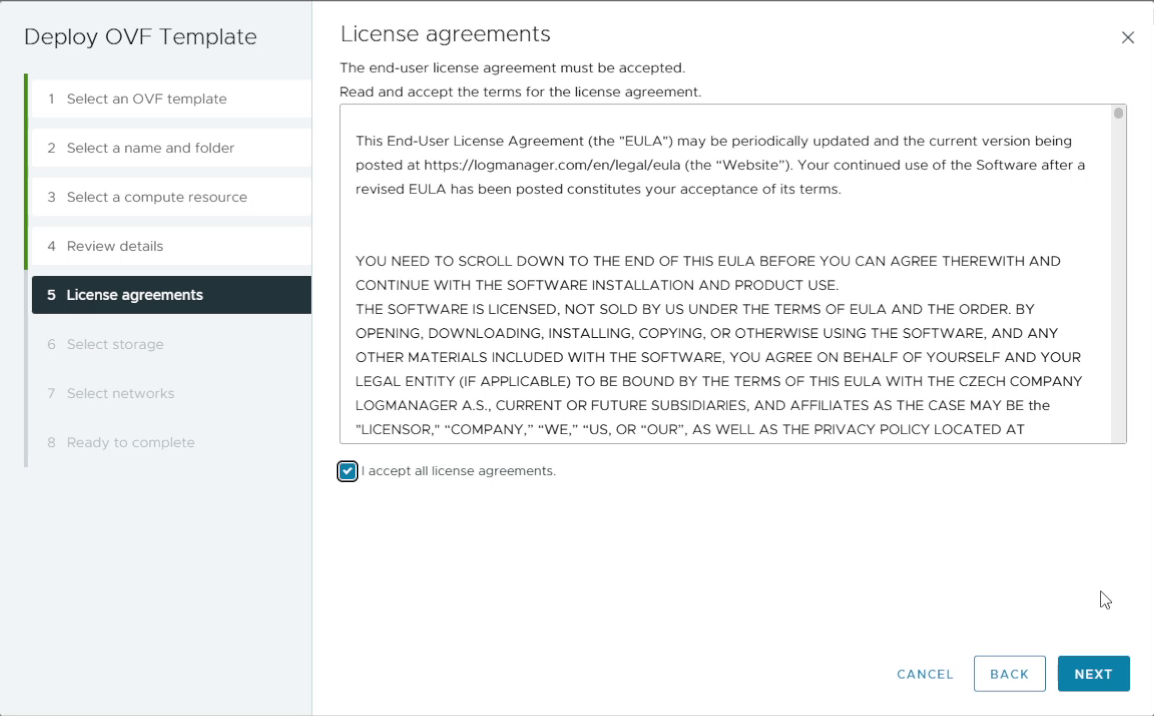
Read and accept license agreement, click NEXT button
Read and accept license agreement
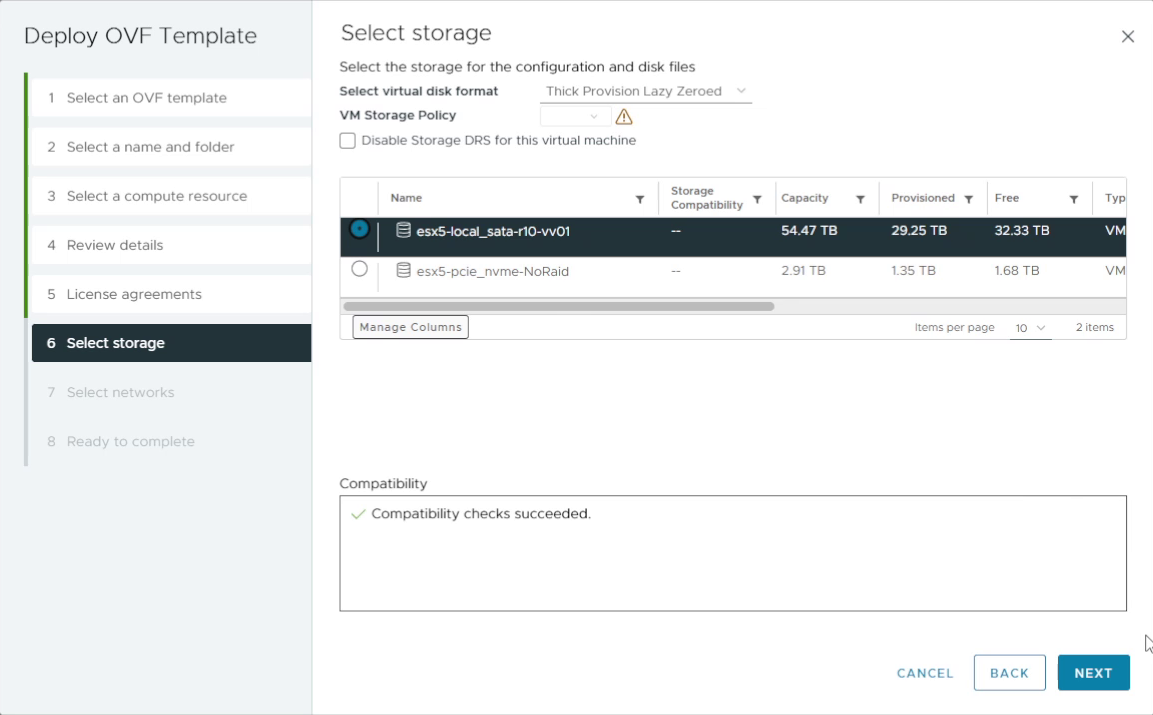
Select storage, click NEXT button
Select storage
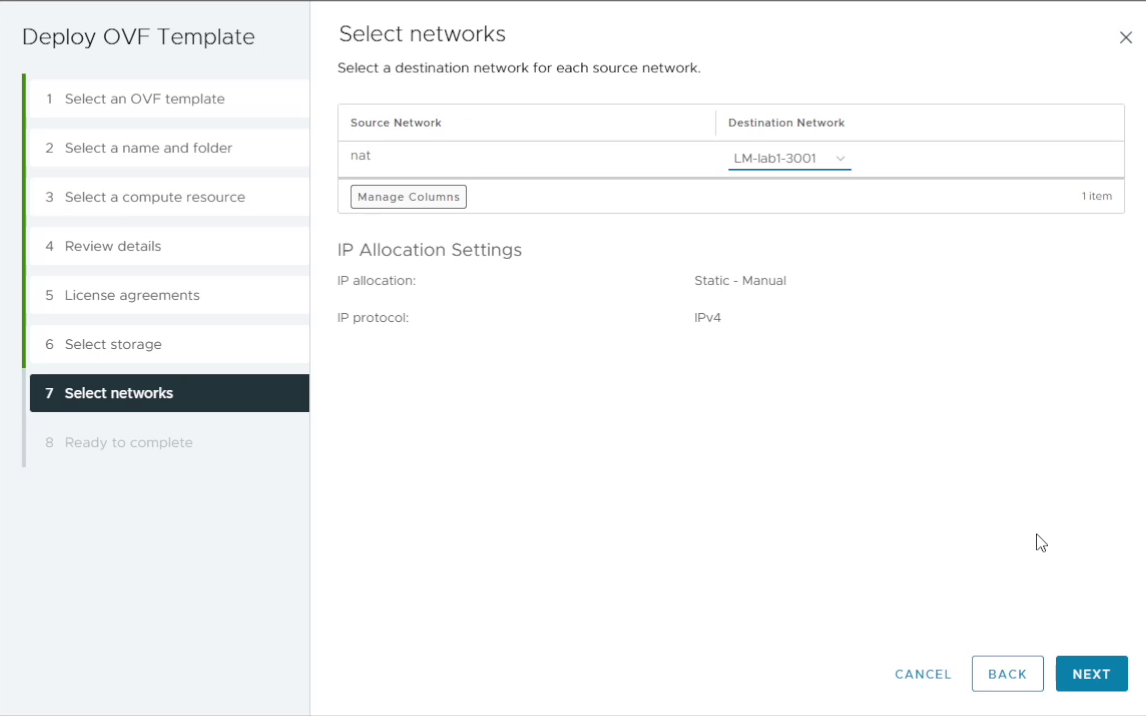
Select your network, click NEXT button
Select your network
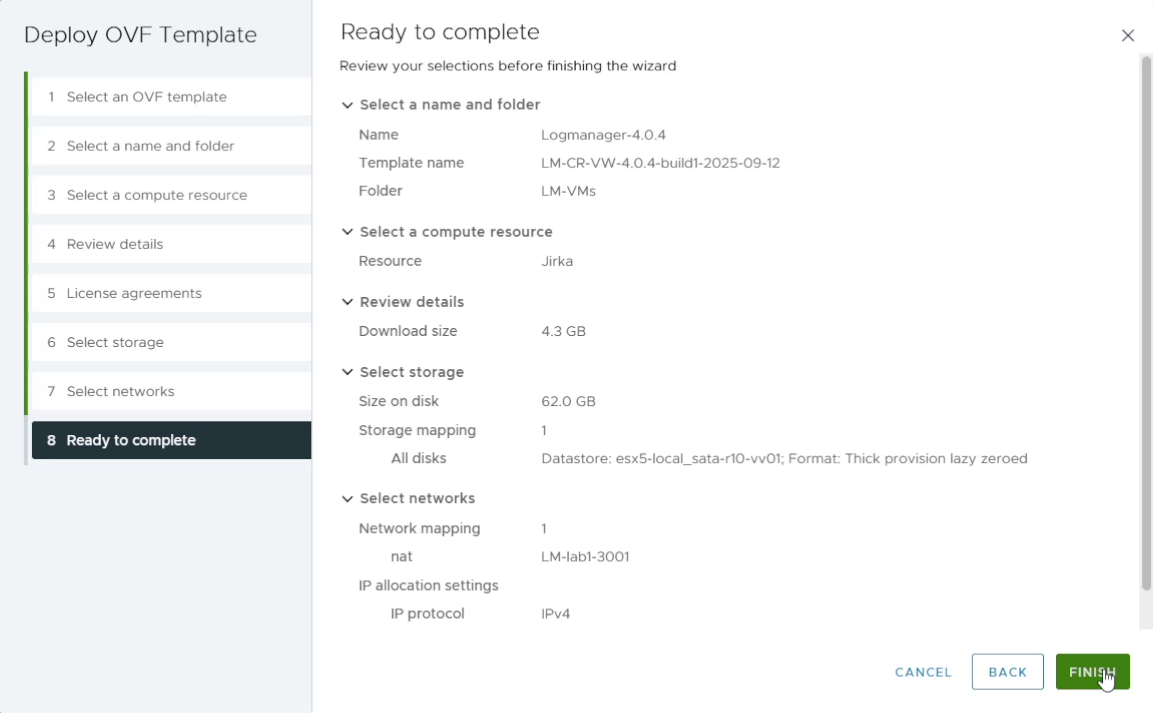
Review setup and click FINISH button.
Review setup
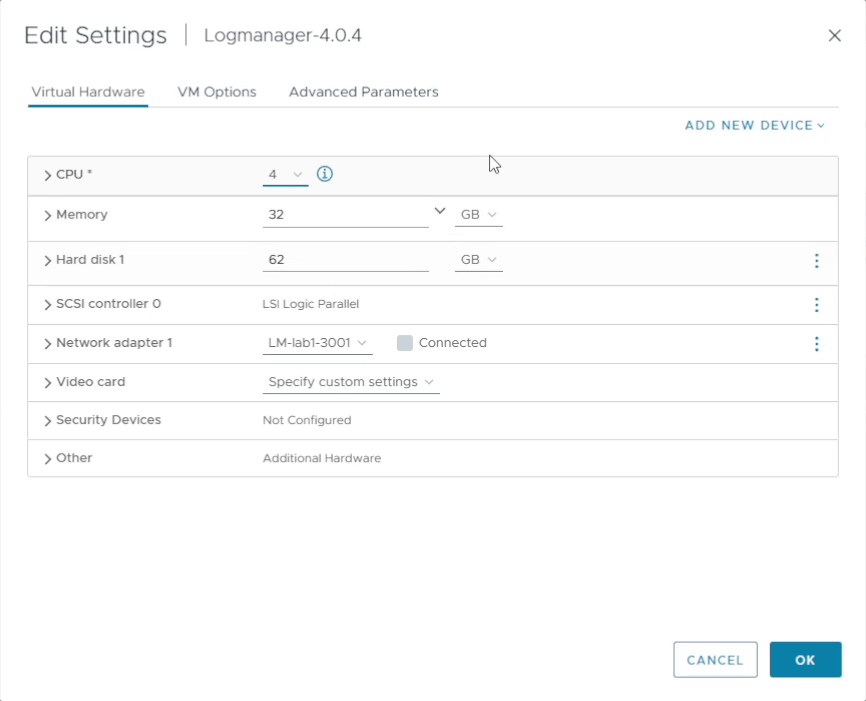
After your VM is created, edit HW settings and adjust the number of CPUs and RAM according to desired EPS according to the Hardware Requirements table.
edit HW settings
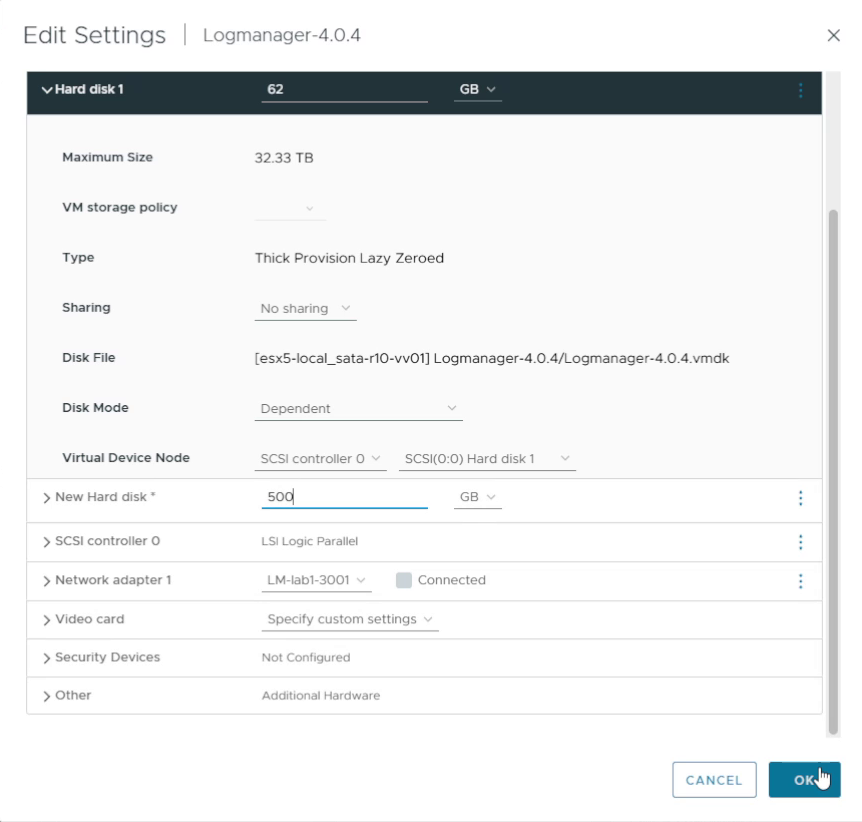
Add an extra hard disk for storing data. Choose the size of the drive according to your license.
Add an extra hard disk
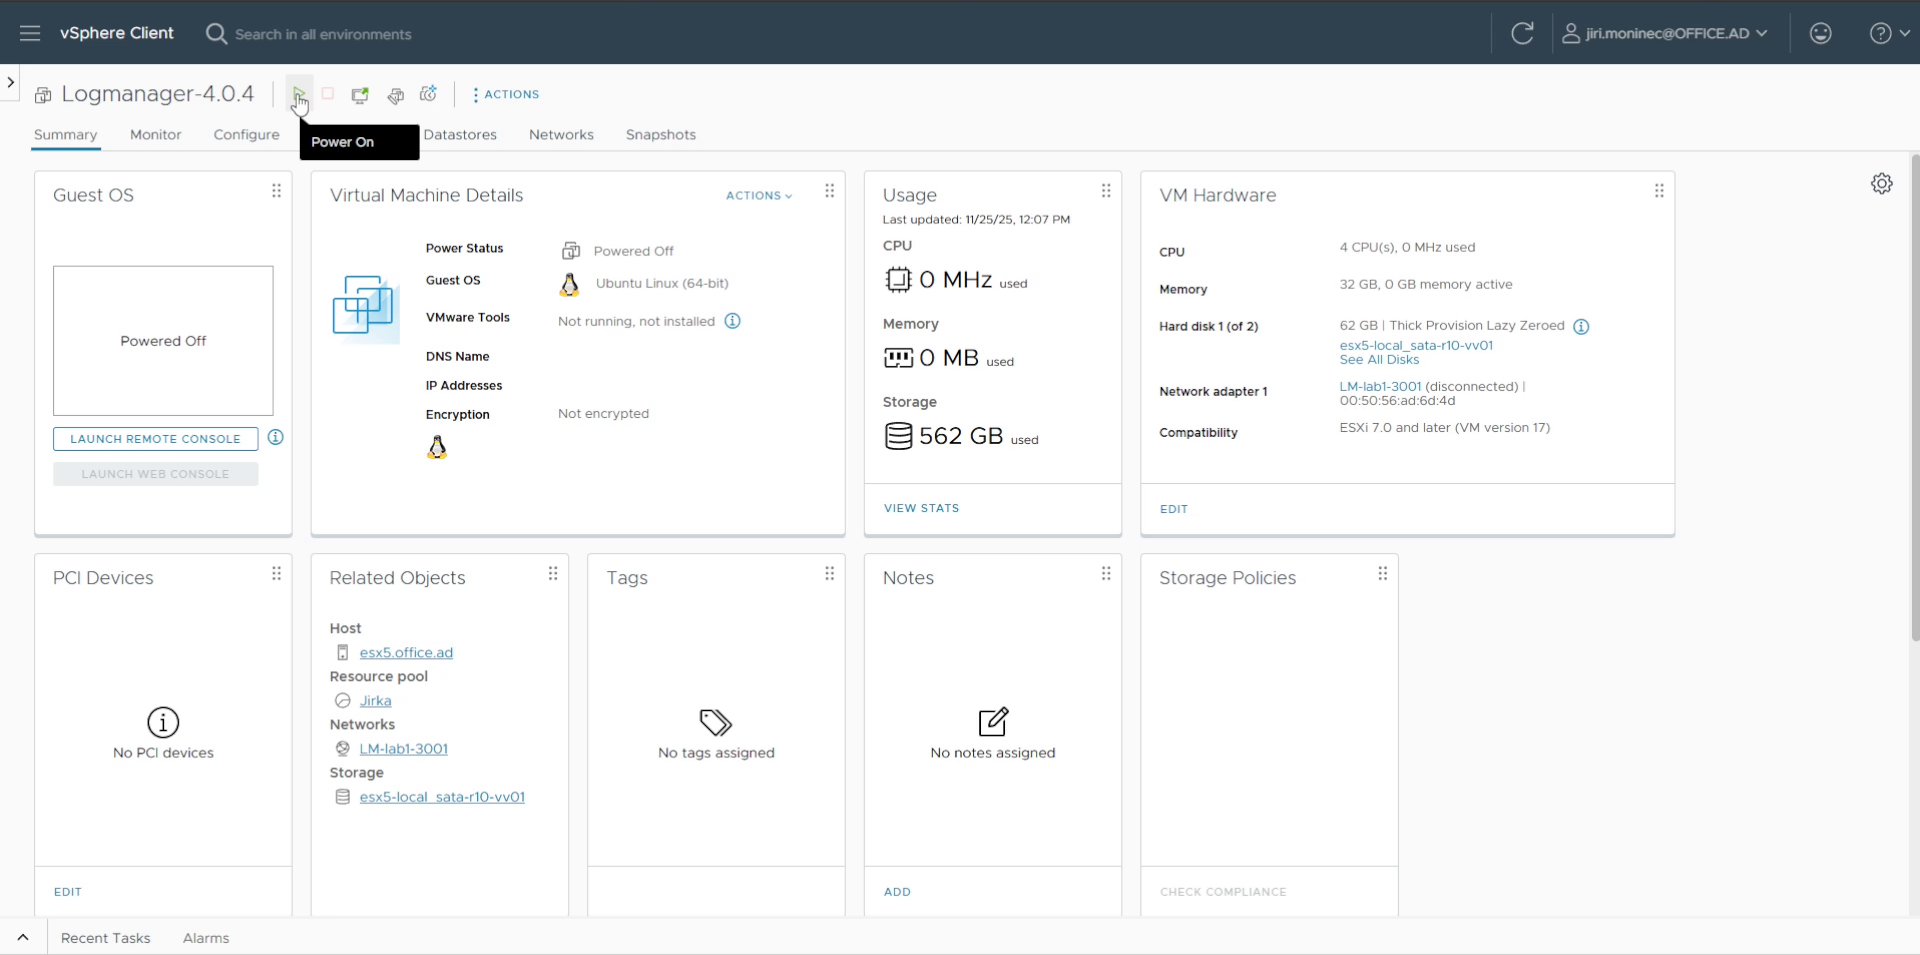
Run the VM
Run the VM
Deployment to Hyper-V
This section defines the single steps and follow-up operations for deploying and launching Logmanager vm in Hyper-V, including linking to Logmanager in the main location.
Copy the Logmanager .vhdx disks to the desired storage space on the Hyper-V server.
Connect to the server and run the Hyper-V Manager console.
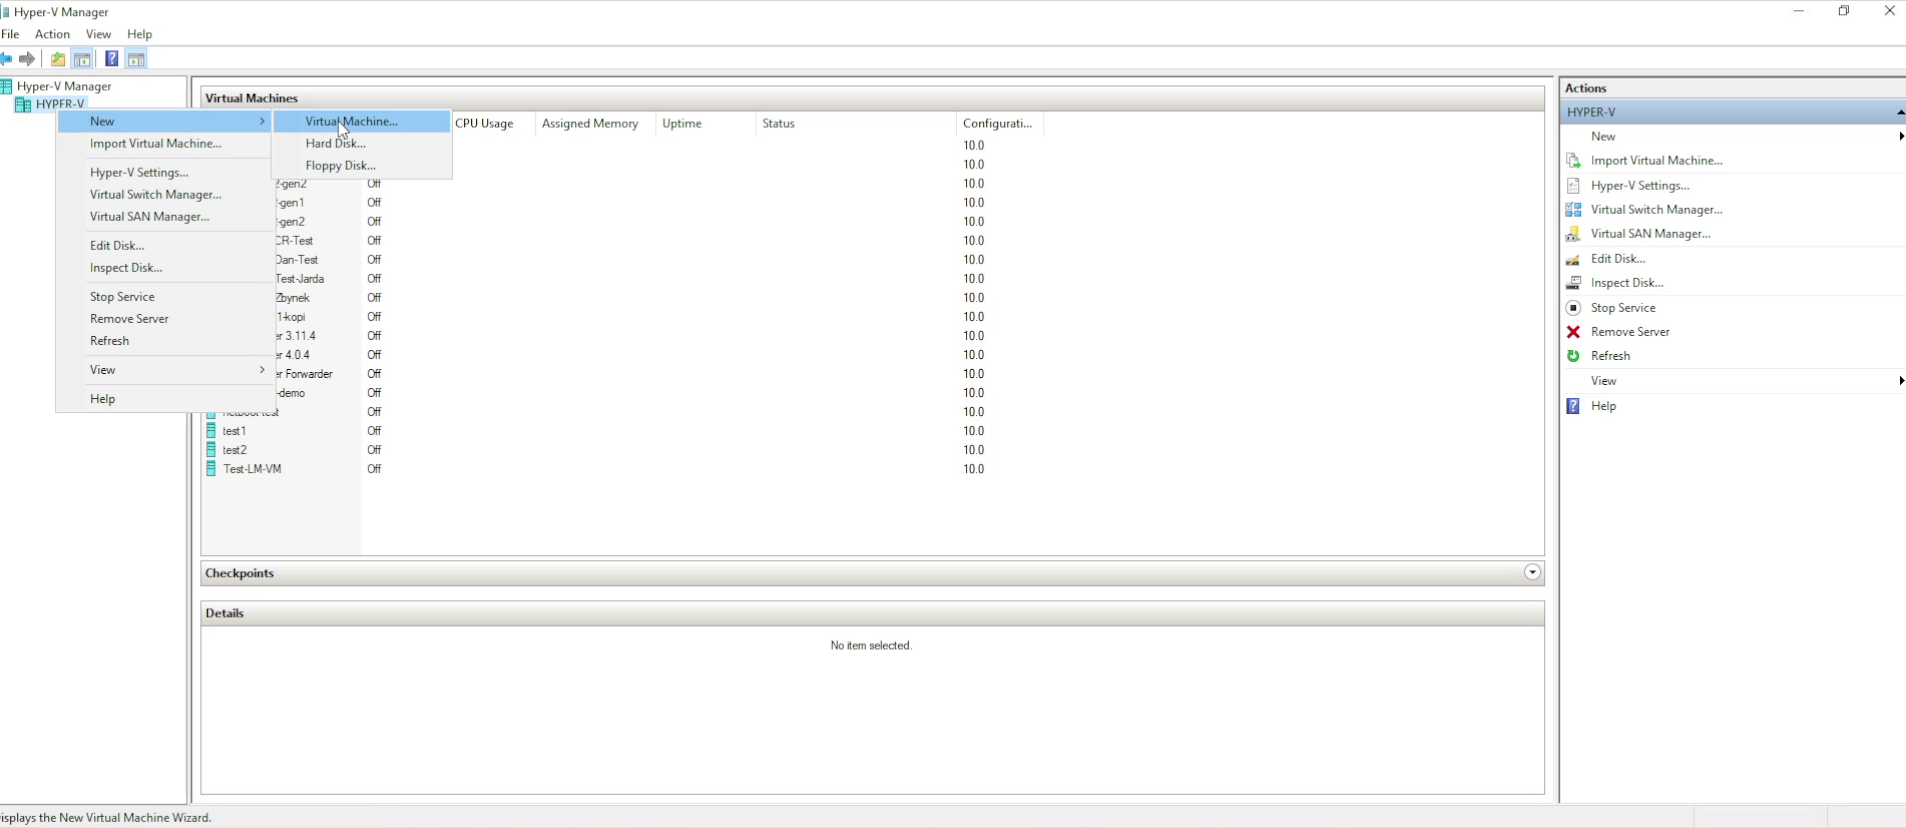
In the left panel, right click the server and select New/Virtual Machine
Create a new virtual machine
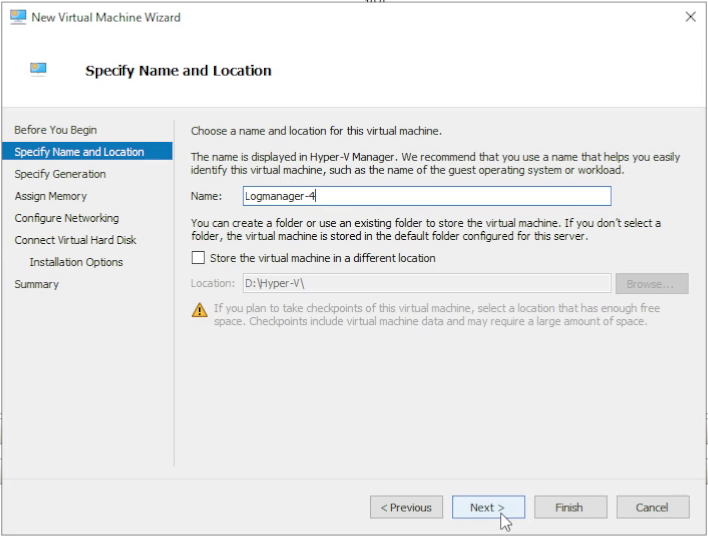
Change the virtual machine’s (VM) storage location by selecting Store the virtual machine in a different location. By default, VM is saved to: C:\ProgramData\Microsoft\Windows\Hyper-V
Specify Name and Location
On the Specify Generation screen, select Generation 2 option.
Select generation
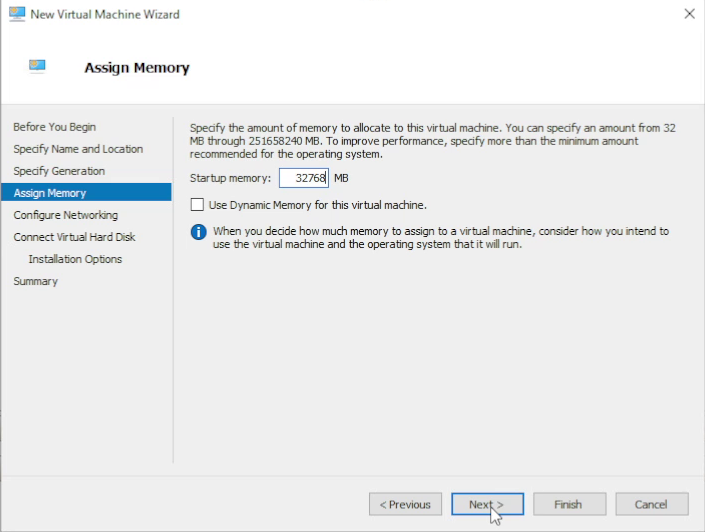
In the Assign Memory tab, enter the virtual machine memory size. Please assign memory according to Hardware Requirements. Minimum amount of RAM is 16GB.
Assign memory
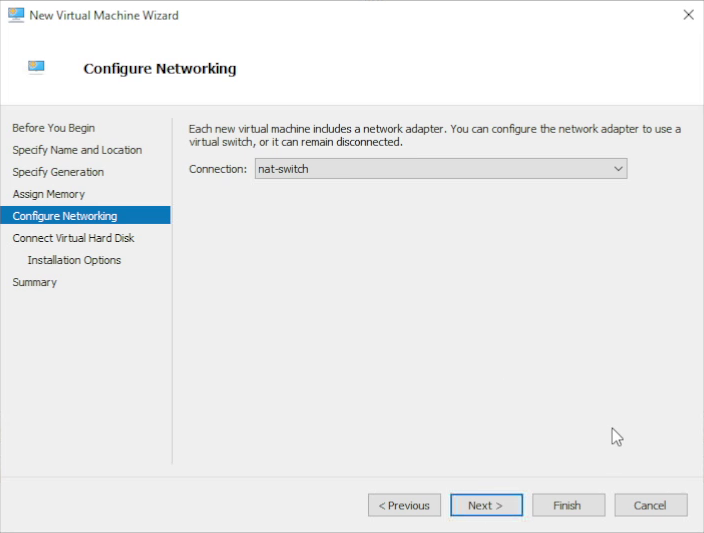
On the Configure Networking screen, select a virtual switch through which the VM will communicate over the network.
Select network
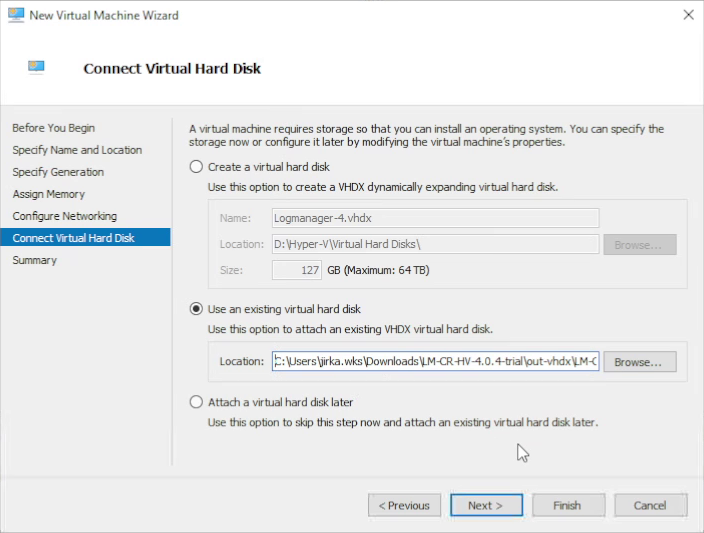
In the next step Connect Virtual Hard Disk, select Use an existing virtual hard disk and enter the path to the .vhdx file, where the virtual machine disk is located. Continue with the Next button.
Select generation
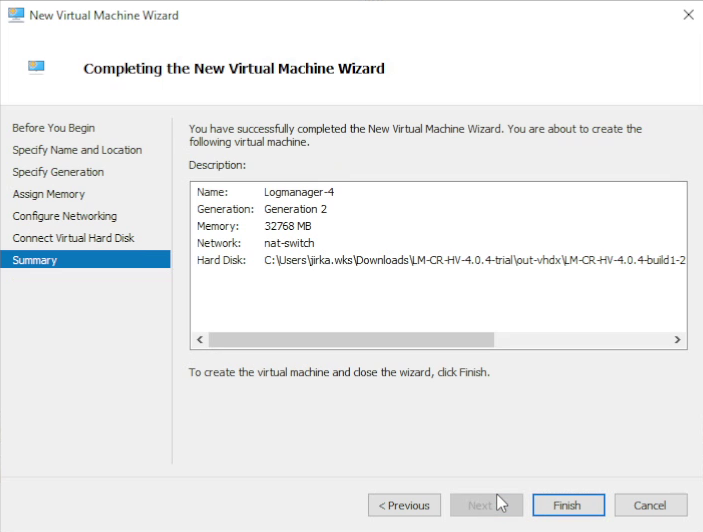
On the Summary screen, check the specified VM parameters and confirm with the Finish button.
Check parameters
With this step, the new Logmanager virtual machine has been created. Do not start the VM yet, and follow additional steps.
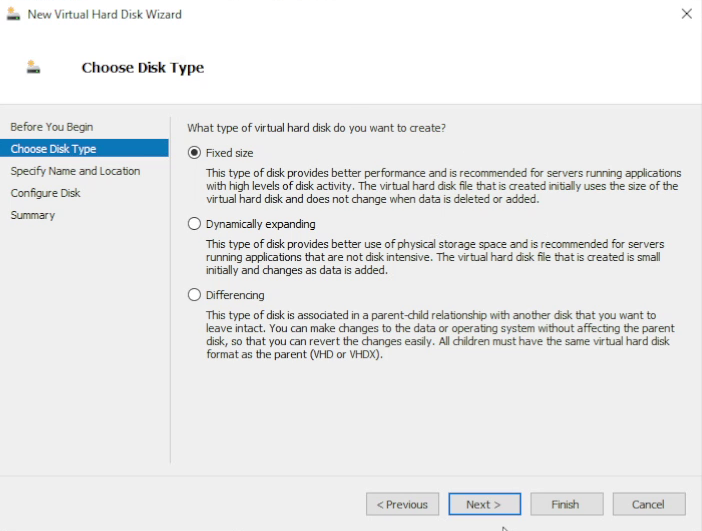
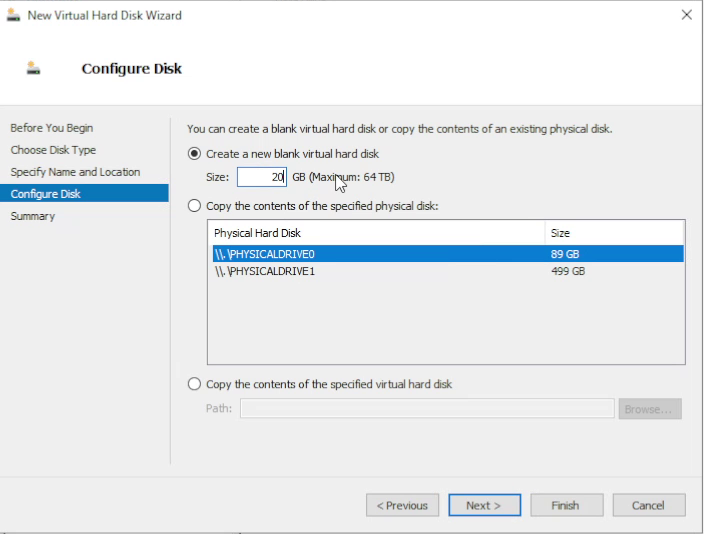
Right-click the newly created machine and select Settings,In the Settings for … window, select IDE Controller 0 and press the Add button. Select Fixed sized for optimal performance and press Next
Add a newdisk
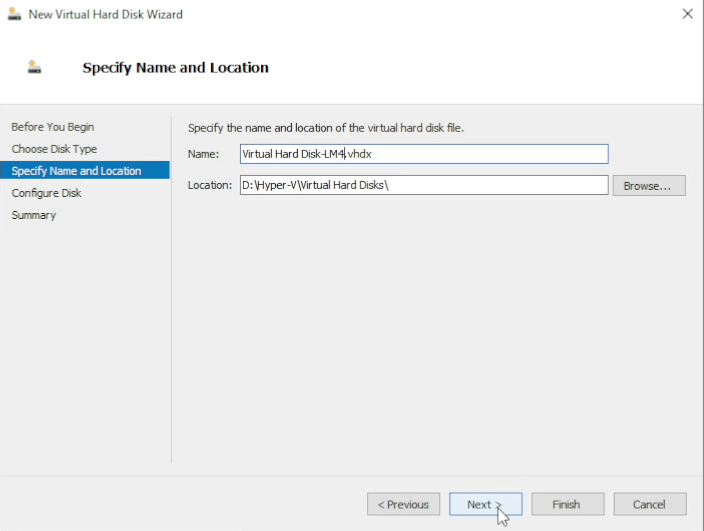
Type the path to the secondary virtual disk file and press Next button.
Path to the new disk
Set the disk size according to your license. Review disk setup and press Finish button.
Finish disk setup
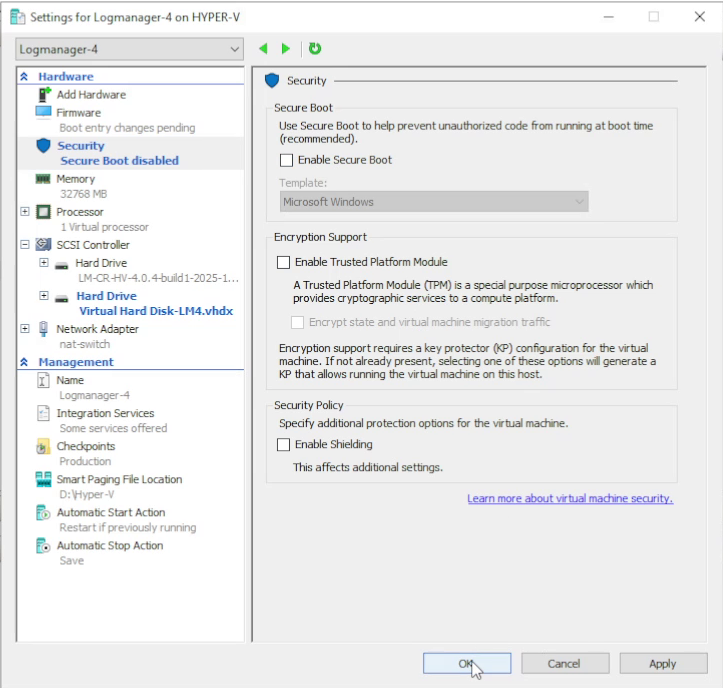
In the Security section uncheck Enable Secure Boot option
Disable Secure Boot
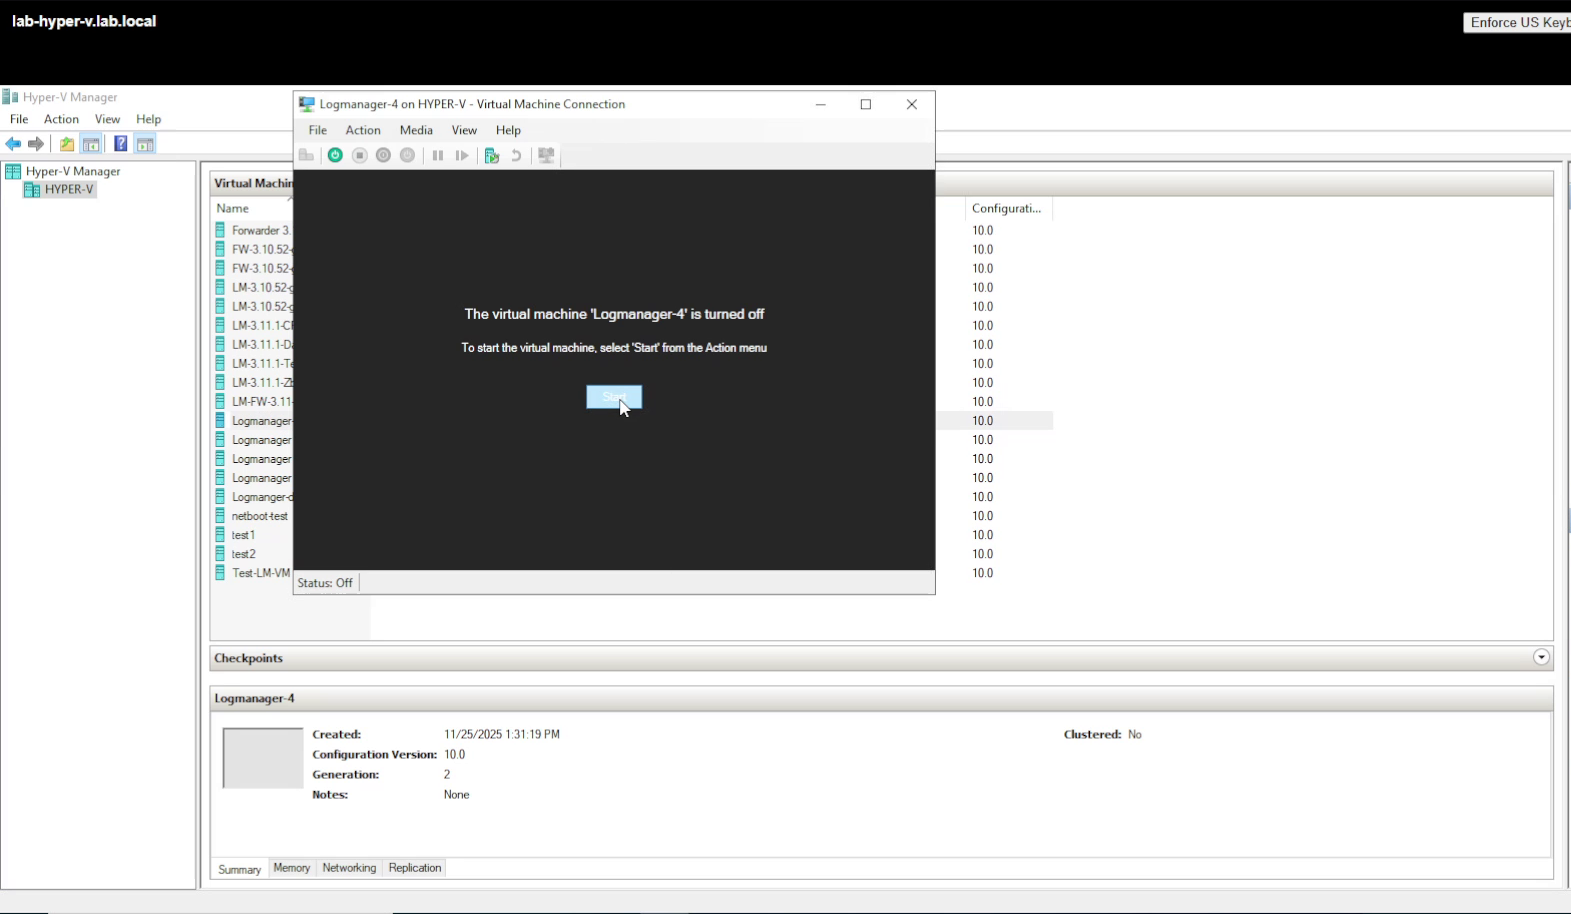
Start the virtual machine
Start the virtual machine
Configuring Virtual Logmanager
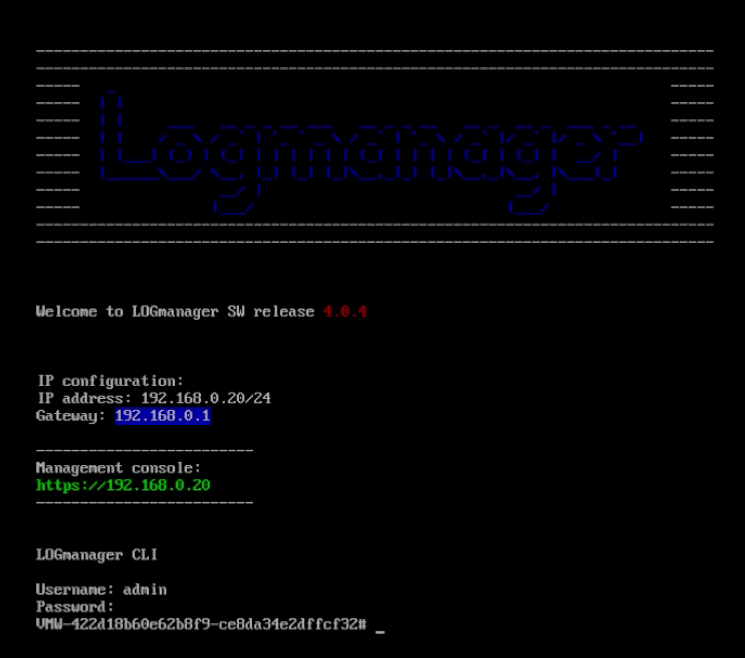
Once the VM is running, open the virtual console from your hypervisor and log in to the text console with the default credentials:
CLI
Username: admin Password: admin
You will perform initial network configuration from the limited Logmanager CLI. For more commands, see the official CLI documentation.
Configuring an IP address
Virtual Logmanager uses static IP addresses. Before you start, decide on the network information you want to use, for example:
IP address: 192.168.1.29 Netmask: 255.255.255.0 Gateway: 192.168.1.1
Then follow the steps below on the VM text console.
Step 1: Add the new static IP
Command syntax:
set ip ip_address network vlan
Example:
set ip 192.168.1.29 255.255.255.0 default_vlan
Step 2: Delete the default route
Command syntax:
delete route target netmask gw
Example:
delete route 0.0.0.0 0.0.0.0 192.168.0.1
Step 3: Add the new route
Command syntax:
set route target netmask gw
Example:
set route 0.0.0.0 0.0.0.0 192.168.1.1
Step 4: Delete the default IP
Command syntax:
delete ip ip_address network vlan
Example (removing the old default address):
delete ip 192.168.0.20 255.255.255.0 default_vlan
Login to the Web UI
After you configure the static IP address and default route, you can access the Logmanager web interface from your browser: