Progress Kemp LoadMaster
This procedure shows how to properly set up the Progress Kemp LoadMaster to send all available messages/logs to the Logmanager system. During the setup process, configuration changes need to be made on both the Progress Kemp LoadMaster and Logmanager sides.
- Login to the Progress Kemp LoadMaster web interface, you will need a username with administrator privileges.
- Go to settings:
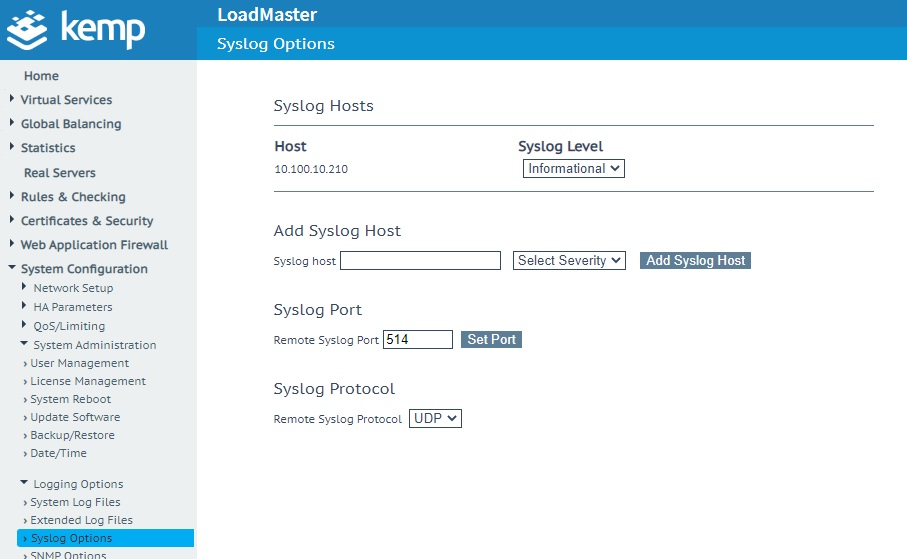
System Configuration ‣ Logging Options ‣ Syslog Options. - Under Add Syslog Host, add the IP address or domain name of your Logmanager server in the field.
- Set the Syslog Port to 514, select the Syslog Protocol according to your preference, in general we recommend using TCP. Changing to UDP does not change the functionality.
Setting up the Progress Kemp LoadMaster
- Now go to
System Configuration ‣ Logging Options ‣ Extended Log Files - Here select Disable Local Extended ESP Logs entry.
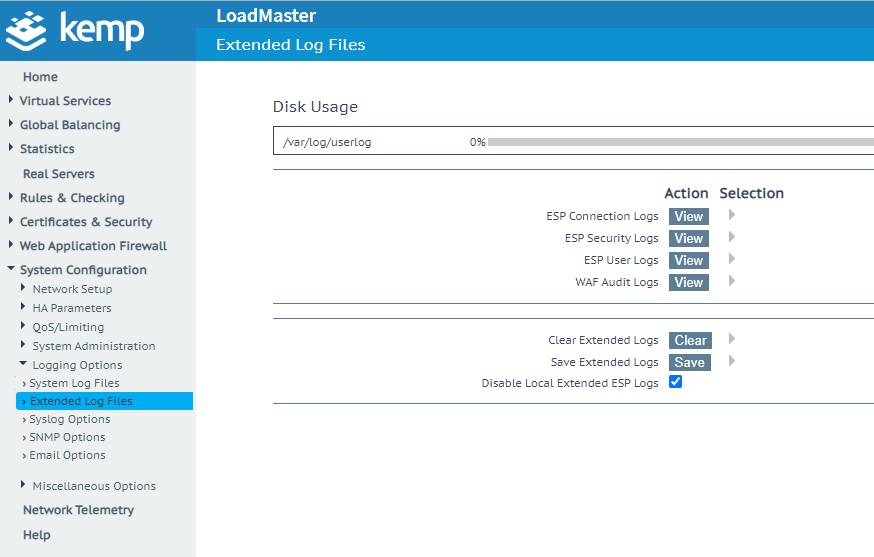
Disable Local Extended ESP Logs
- Go to
Virtual Services ‣ View/Modify Servicesand click on the Modify button for the specific service for which you want to activate events/logs (applies only to those for which ESP is active).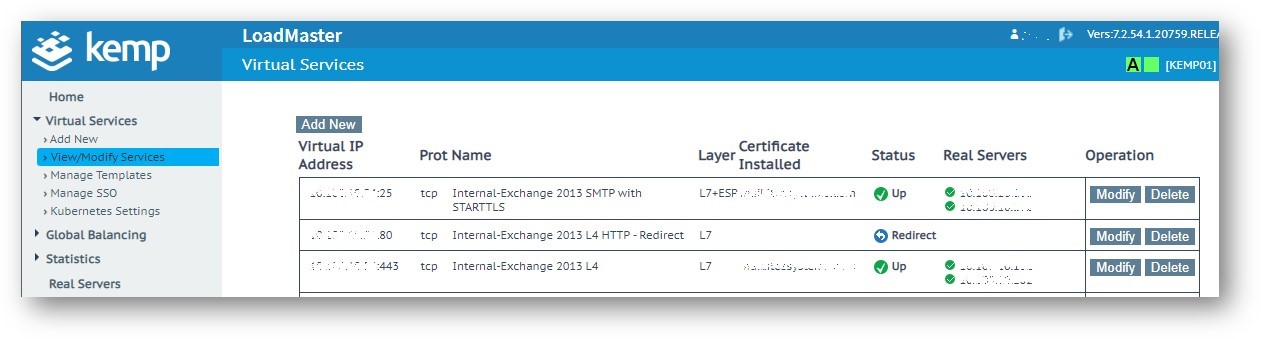
Activating ESP service logging
- In editing a specific service, in the ESP options section, enable the required logging (ESP logging):

Activating ESP service logging
- Select Enable ESP and select the desired log types in ESP Logging: User Access, Security, Connection.
If you leave Disable Local Extended ESP Logs in the default state, in other words, if you leave the logs stored locally, they will not be sent to Syslog, i.e. to Logmanager. This item is important!
To successfully receive and process logs, you need to set up the log classification correctly. The easiest way to do this is to add the IP addresses of the device (or, alternatively, the subnet of your choice) to the appropriate IP prefix list.
Some devices in Logmanager do not have their own IP Prefix list and you need to create one or use a classifier - Classification. For this device the IP prefix list does not exist, so follow the procedure below.
-
Log in to the web administration Logmanager.
-
Go to IP prefix lists in Tools:
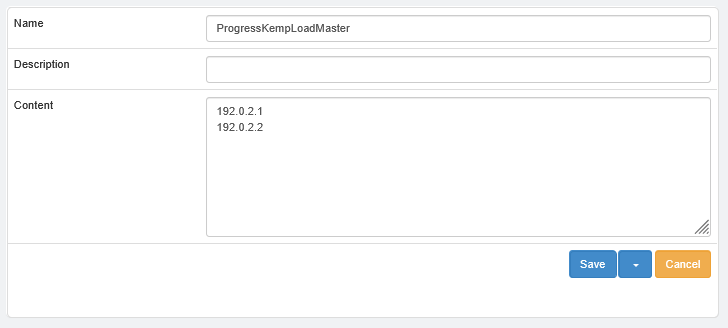
- Click on the icon with the “+” symbol and create a new IP prefix list
- Select name as the ProgressKempLoadMaster
- Add the IP addresses of your Progress Kemp LoadMaster devices (Alternatively, you can use the subnet of your choice).
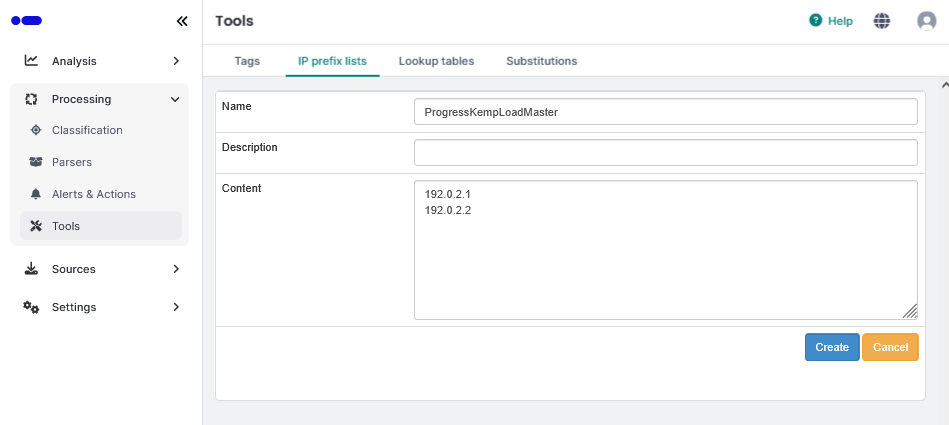
New IP prefix list
-
Go to Parser/Classifiers
- In case you are using your own unique classifier, modify it and add the following condition:
Adding a condition to the classifier
-
In case you don’t use your own unique classifier, create one:
- Go to Processing/Classification/Classifiers
- Click the “plus “ symbol on the right and create a new Classifier
- Name it arbitrarily, for example “ProgressKempLoadMaster” and insert the following condition:
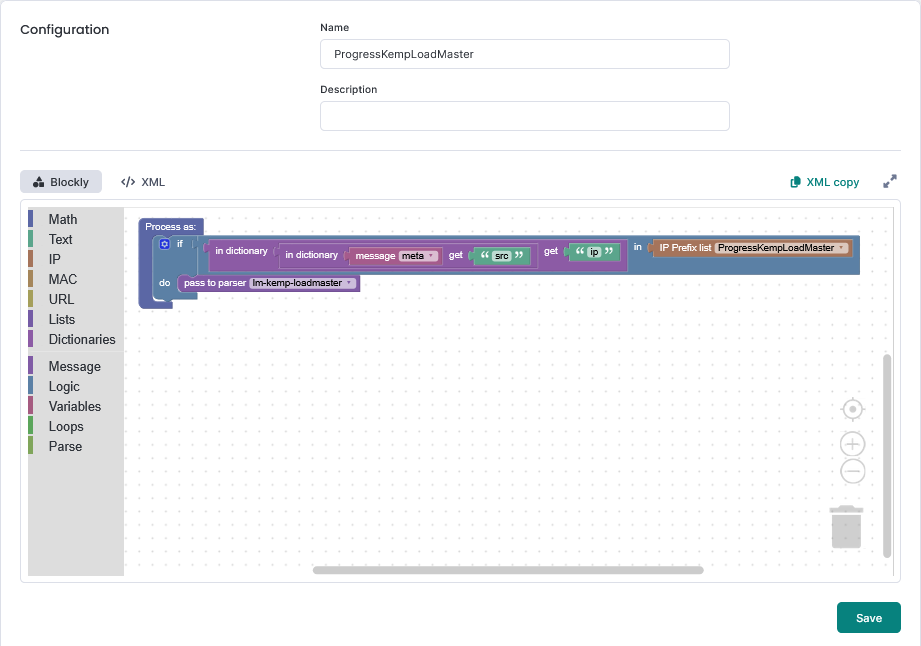
Adding a condition to the classifier
Classifiers are sorted alphabetically, make sure the classifier you create is not the last classifier.This is standard for most Logmanager installations. If you are unsure about anything, please contact your certified partner or help@logmanager.com