IP Prefix Lists
IP prefix lists are extension for classifiers and parsing rules, which include lists of IP addresses. If messages from more “Fortigate” devices are sent to Logmanager, a list of these devices IP addresses can be defined. Then you can directly query this IP prefix list in classifiers and parsing rules. For example, whether a message came to Logmanager from an IP address included in the IP prefix list.
This function is used in the IP Prefix list block. This block includes a list of all IP prefix lists, which can be used in a classifier or parsing rule.
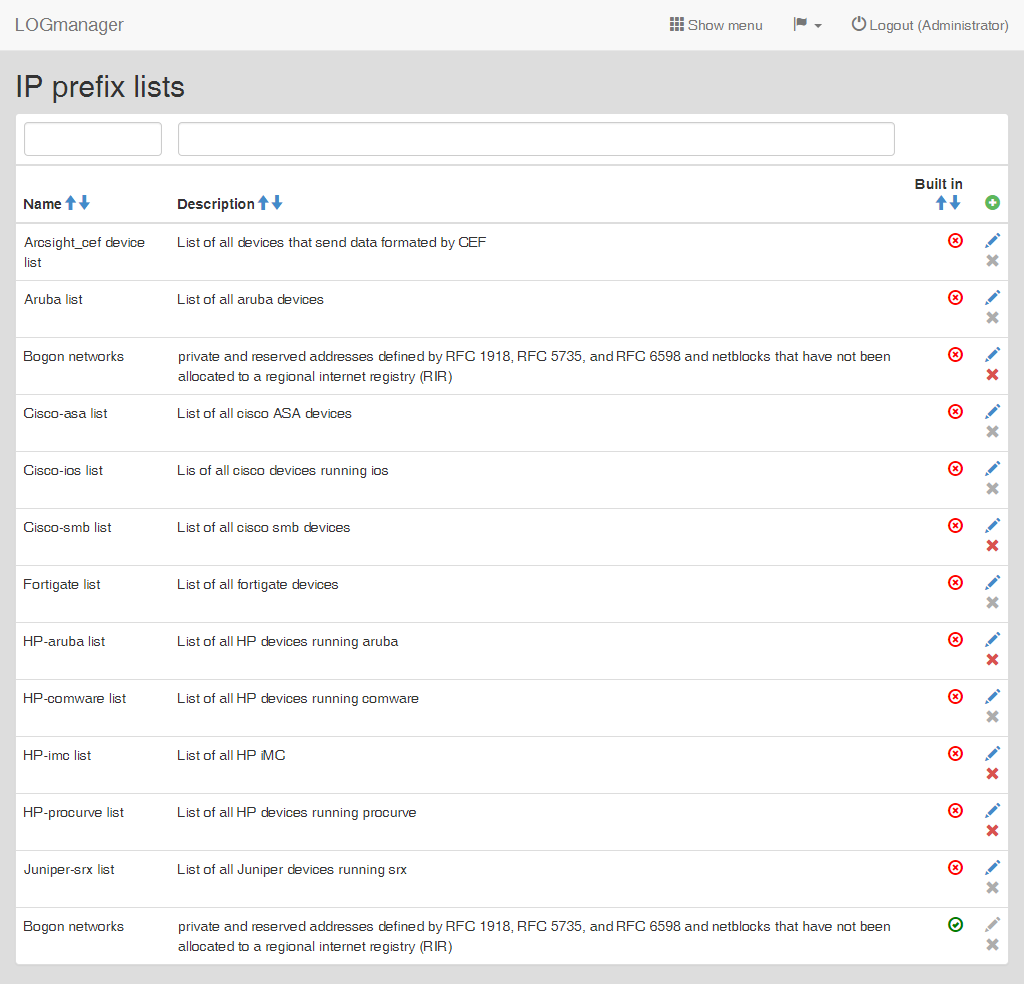
IP prefix lists
The list of the prefix lists shows all records defined in the system. Table shows basic information: Name (name of the prefix list), Description (description of the prefix list) and Built in (whether the prefix list is integrated in the system).
Filter fields are located above the table. Data may be filtered by any single column. In case of using filters above more than one column, the AND term is applied.
If you need to add a new prefix list, click the green plus icon in the main table in the upper right corner.
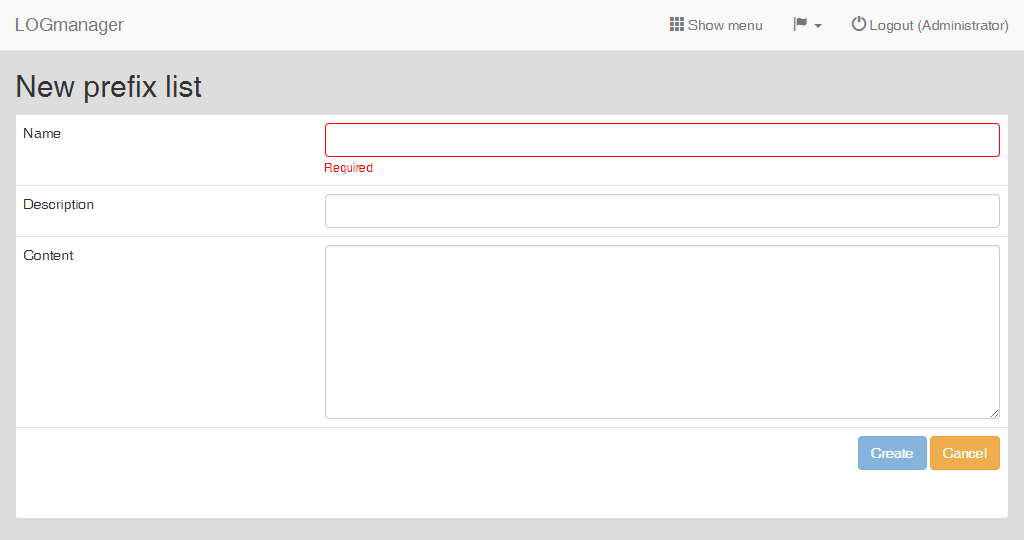
Adding a prefix list
Enter following data into the prepared form:
-
Name: table name,
-
Description: table description,
-
Content: list of values - one IP address or network address in “0.0.0.0” format on every single row. For example a list of private addresses:
192.0.0.0/24
192.0.2.0/24
192.168.0.0/16
Editing the prefix list can be started by clicking the blue pencil icon, which is shown by every row. Integrated prefix lists cannot be edited nor deleted.
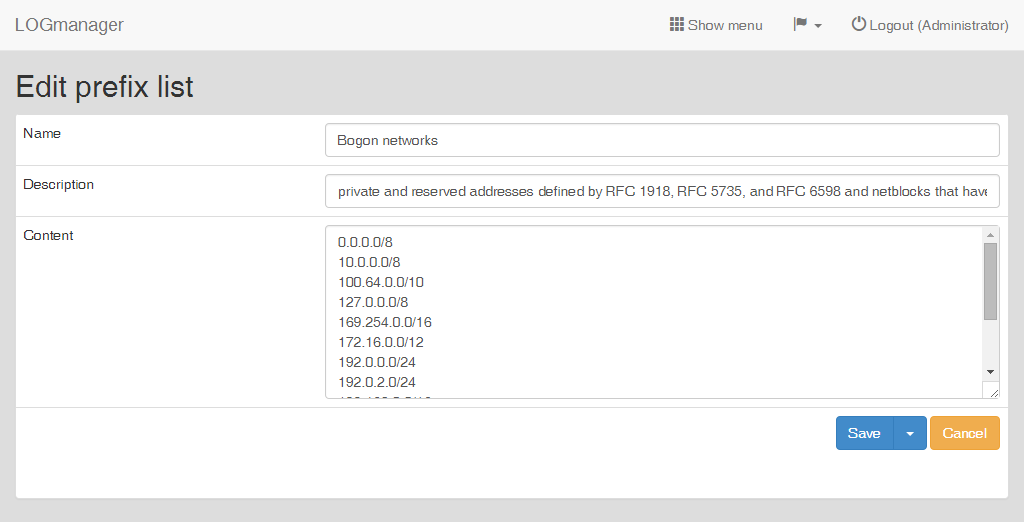
Editing a prefix list
A form identical to the form for adding of a new prefix list is now shown.
Deletion of a prefix list is done by clicking the red cross icon, which is shown by every row.
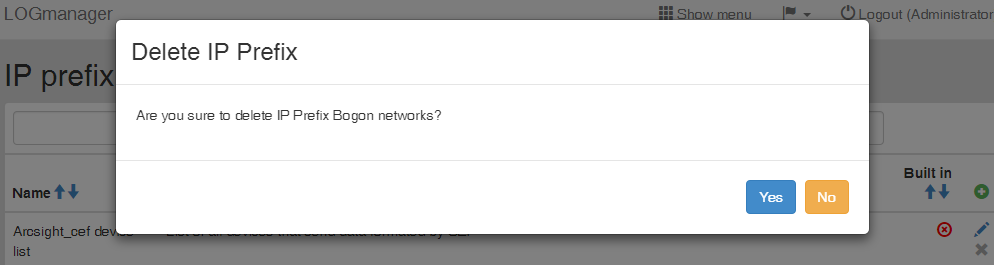
Deleting a prefix list