Classifiers
Classifiers are dealing with the identification of incoming data to Logmanager. Messages from all devices, servers and services, which are sending to Logmanager, must be defined in this section. If the device is not defined, messages are run through the system, but no additional information is added and parsing of the message is not done.
The Classifiers list shows all classifications defined in the system.
The table shows all information available: Name (name of the classification), Description (description of the classification), Condition (condition, which must be met by the incoming message) and Tags (more info in the chapter: Tags).
Filter fields are above the table, and data may be filtered by any single column. In case of using filters above more than one column, the AND term is applied.

Classifiers
Default classification is shown in the example.
A classification can contain one rule, where there is only one classification for one device. In case of servers, classification can be defined so that one classification includes more rules for all services, which are sending messages to Logmanager from the server. A classification may be created, where a list of IP addresses is defined for one type of devices, from which the messages are sent to Logmanager.
Classifiers must contain a block to create overall condition. It is created automatically in the blockly schema.
Classifiers can end with these blocks:
- pass to parser: final block for transfer of the message to parser,
- pass to template: final block for transfer of the message to next classification.
If the classifier is not ending with a block pass to parser or pass to template, it means that the message is automatically forwarded to the next classifier in alphabetical order.
Many classifiers can be created containing different conditions. If the message does not comply with any condition in any classifiers, the message goes automatically to the last classifier, which can contain general conditions. By this can be achieved that every message gets into the parser and is processed.
Example:
- Classifier 1:
- Contains conditions by source IP addresses.
- E.g. if the message arrived from IP address 190.0.2.1, then forward the message to parser cisco-asa.
- If the message has not ended in any condition, continues to Classifier 2.
- Classifier 2:
- Contains conditions by source program name.
- E.g. if the message arrived from sshd program, forward the message to parser openssh.
- If the message has not ended in any condition continues to Classifier 3.
- Classifier 3:
- Contains general conditions.
- E.g. if the message begins with the {” characters, forward the message to the JSON parser.
If you need to add a new classification, click the green plus icon in the main table in the upper right corner.
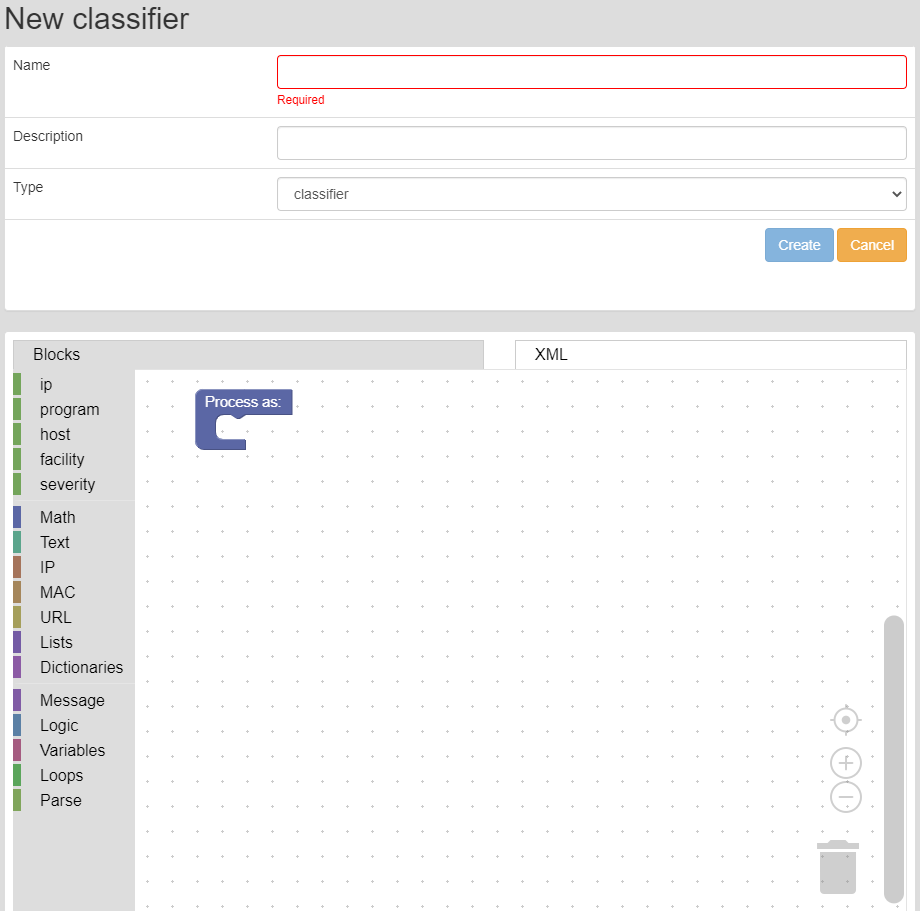
Adding a classification
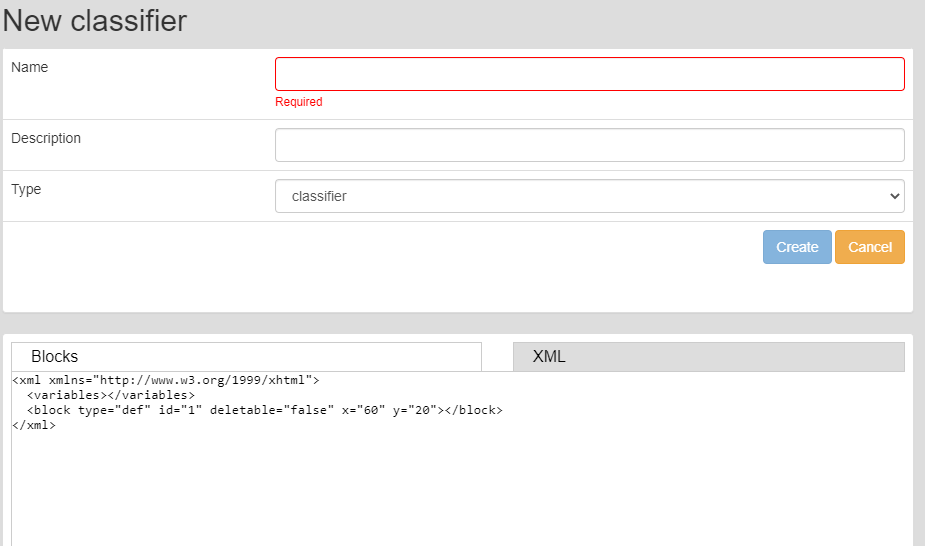
Adding a classification XML
Enter following data into the prepared form:
- Name: name of the classification rule,
- Description: description of the classification rule,
- Type: type of the classification:
- Classifier: creates a classification rule,
- Template: creates a classification template. More in the Classifier templates chapter
- Source: source of the data.
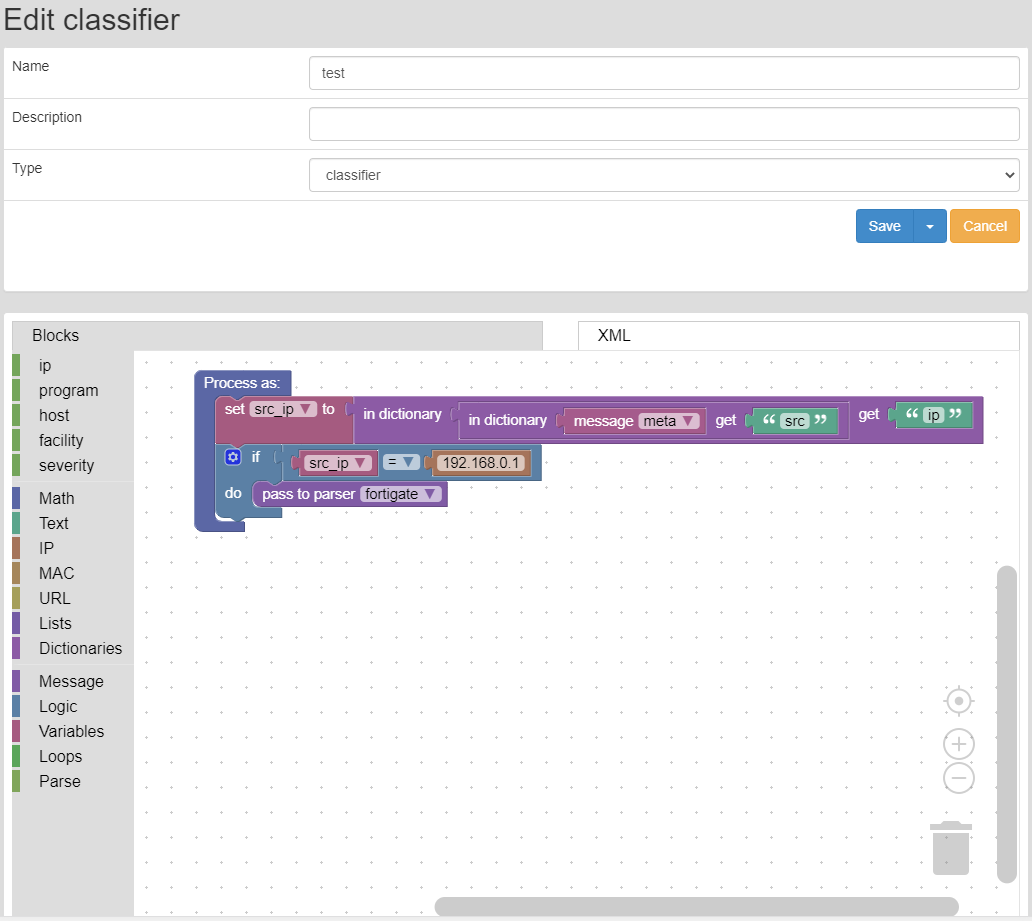
Rules are created with Events processing in blockly.
A rule which includes a condition “incoming message is from IP address 1.1.1.10” is shown in the example. If the condition is met, message is pass to the “apache” parser and user tag “webserver” is added to all these messages.
Editing the classification can be started by clicking the blue pencil icon, which is shown by every row.
Classification editing
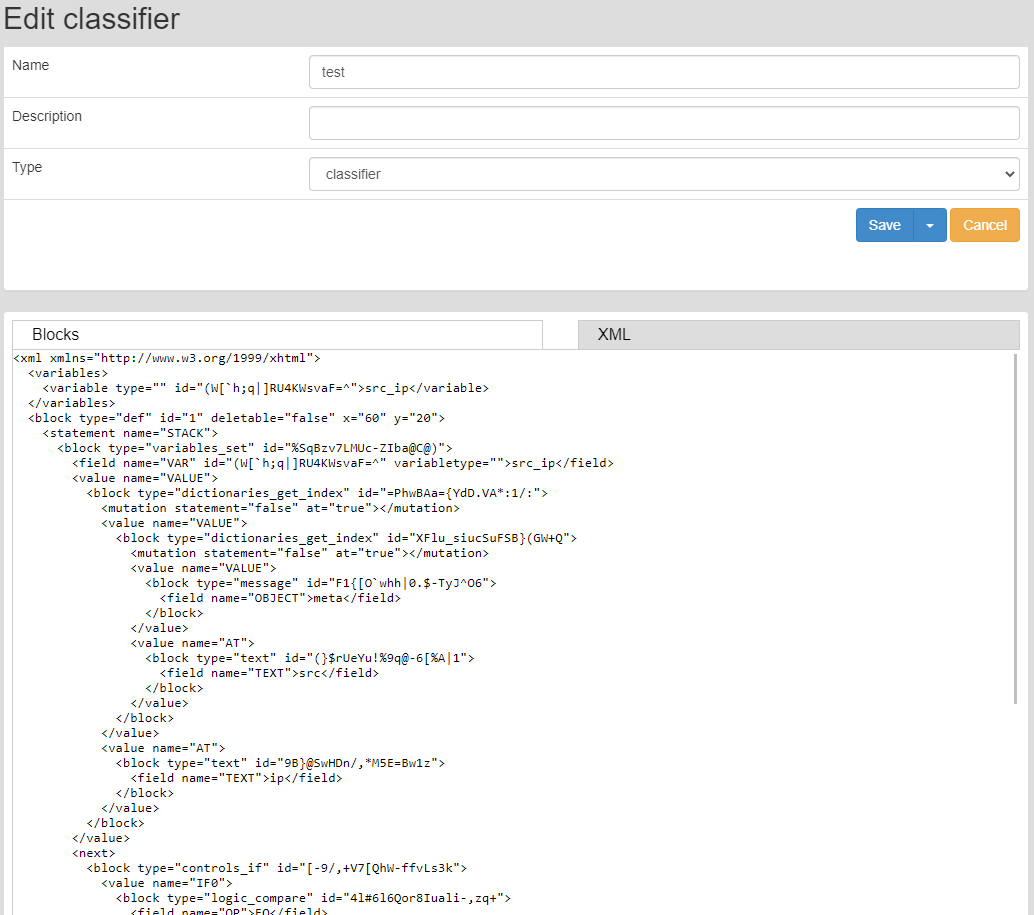
Classification editing XML
A form identical to the form for adding a new classification is now shown.
When editing, a test message can be entered for the classifiers. The test window requires that the same test message must be inserted in JSON format as is stored in LM system. (same format as for Alerts).
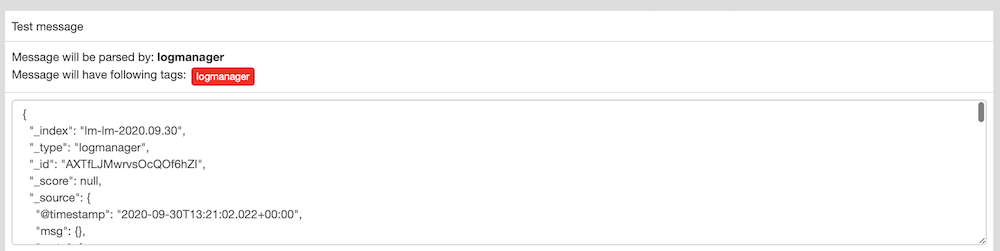
Insert a test message
You can get a test message in: Logs ‣ Dashboards ‣ and then open any dashboard and find the message you want to test received in Logmanager. The message must be copied in JSON format, which can be found in the event overview.
Example - how to get a test message:
Open Logs ‣ Dashboards ‣ and click Log overview. At the bottom you will find the All Events table, in which you click the event of your choice. In its description, you will find a View button in the upper left corner, which switches the display of formats. Switch to JSON format and copy the entire message to the test window.
Please also be aware that tags are not stripped from test messages in test process. Due to this behaviour, the final message can have less tags.
Deletion of a classification is done by clicking the red cross icon, which is shown by every classification.

Deleting a classification