Reports
Menu Reports is used to define the conditions under which it generates a report with the required data.
The generated reports are automatically saved and can be found via the menu Logs ‣ Report Files. Reports can also be sent to the specified email address. You can set the generating of any reports that are required. The whole idea is based on the
fact that in the menu Logs ‣ Dashboards you can create the desired data overview, which you save as a Dashboard template. Then you can use this template for creating a new report. The generated report is in PDF format and contains the data as they were prepared in Dashboard. If the generated report is not satisfactory, you must open the template in the Dashboards, make the changes, and
save the template with the same name. Then an updated template will be used to next generate the report.
The generated report files can be found via menuLogs ‣ Report Files.
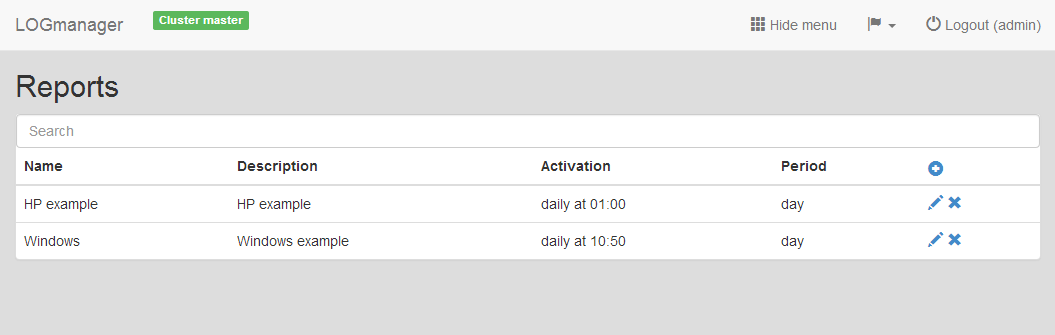
Report table contains all the important information:
- Name: Name of the report.
- Description: The description of what the report contains.
- Activation: The time when the report is generated.
- Period: How long a period the report contains.
You can create, edit or delete the reports.
Reports
Firstly, make an overview in the menu Logs ‣ Dashboards, which you will repeatedly generate in the reports.
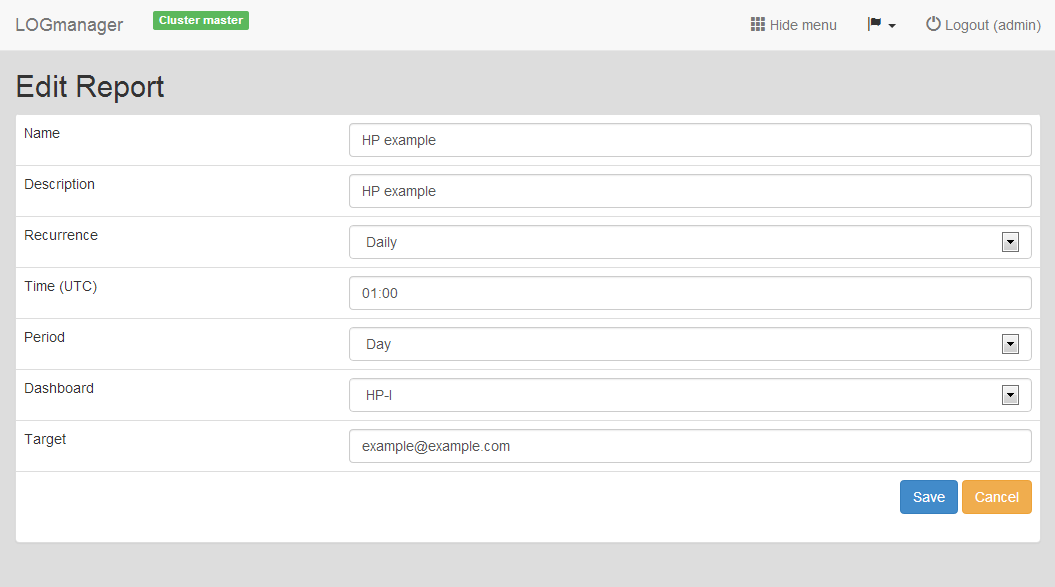
After saving the Dashboard, go back to the menu Logs ‣ Reports and click the plus icon. It will show a form, where you can create a new report. You must enter the following:
- Name: The name of the report.
- Description: Short description of which data the report contains.
- Recurrence: How often you want the report to run - daily, weekly, or monthly.
- Time (UTC): The time when the report is generated (Watch out, time in UTC).
- Period: What period do you want to generate (day, week, or month back).
- Dashboard: Choose prepared saved Dashboard.
- Target: Enter the email if you want to send the report by email (you can add multiple email addresses, use a space between each email).

Creating a new report
The entered data are validated, if any item is filled in wrong, the form can't be created, and the invalid entry will have a red box.
To edit an existing report, click the blue pencil icon for the selected row, this starts the editing of the report.
Editing an existing report
To delete an existing report, click the cross icon for the selected row, a window pops up, where you can confirm or cancel the deletion.
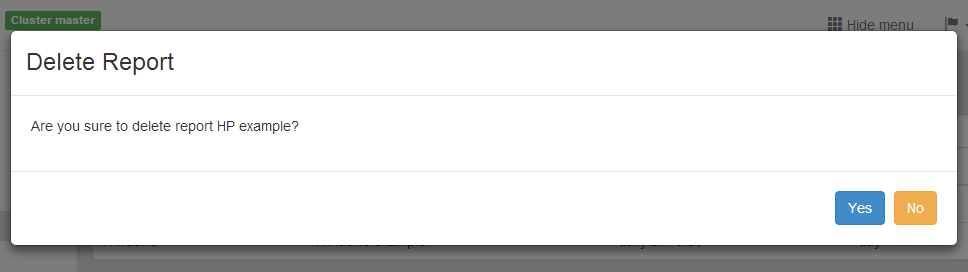
Delete an existing report