VLANs
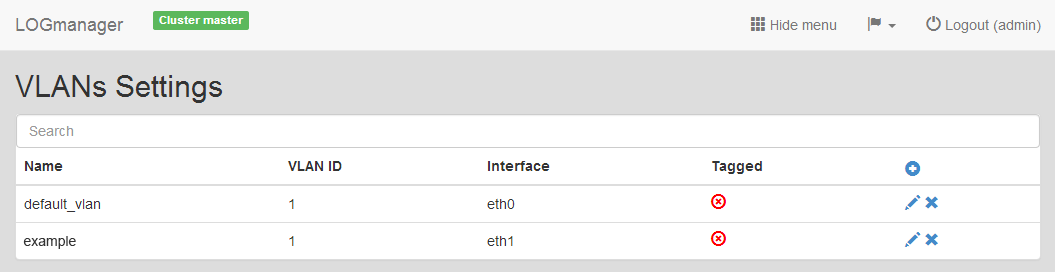
Logmanager server also supports connection to more virtual VLAN networks. You can get the current overview of defined virtual networks under the item VLAN.
VLANs
There is information available about the name of the VLAN (Name), ID of the virtual network (VLAN ID), used interface (Interface) and if packets are tagged (Tagged).
VLANs can be added, edited or deleted.
By clicking the Add icon, we can access the form used to create a new VLAN. We have to insert the following details:
- Name: name of the virtual network.
- VLAN ID: unique ID of the virtual network from 1 to 4096.
- Interface: select physical or Trunk interface from the select box.
- Tagged: select, if the packets of this VLAN should be tagged
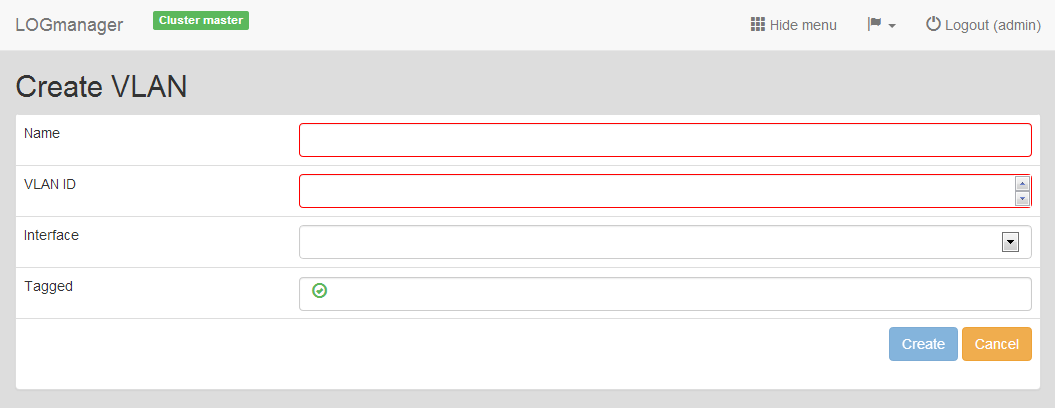
Adding new VLAN
After you add the VLAN, it is important to continue by setting up it´s IP address, see chapter IP adresses.
To edit existing virtual network, click the pencil icon.
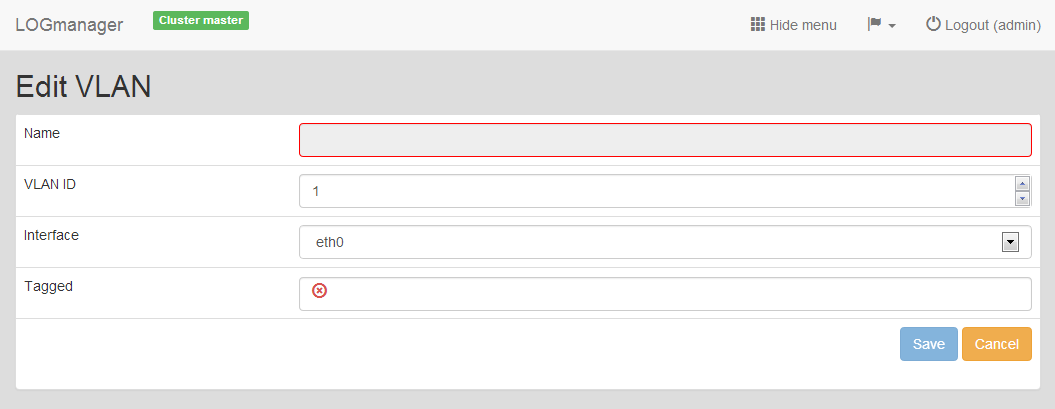
Editing existing VLAN
When editing, you can change all information except the name of the VLAN. VLAN ID still must be unique.
Select the VLAN you want to delete and click the Cross icon. Dialog to delete the VLAN will run.