System Groups
In System Groups you can define where users have allowed access within the application. Each user must be included in a group.

System Groups
Here you can create a group that will allow all access for read-write (including delete). Or you can create a group that will allow access for read-write only to specific parts of the application. Other groups may be read-only, or have no access. You can also use full restrictions when the user does not have any access to the application (for example, if they are in the group from the LDAP server, a user who does not have access)
A user can be assigned to one system group.
Overview of System Groups displays basic information:
- Group Name: Name of the system group.
- Description: Description of the system group.
- Permissions: Type of used permissions.
You can not edit or delete the “Admin” group, all the other groups can be added, edited, or deleted.
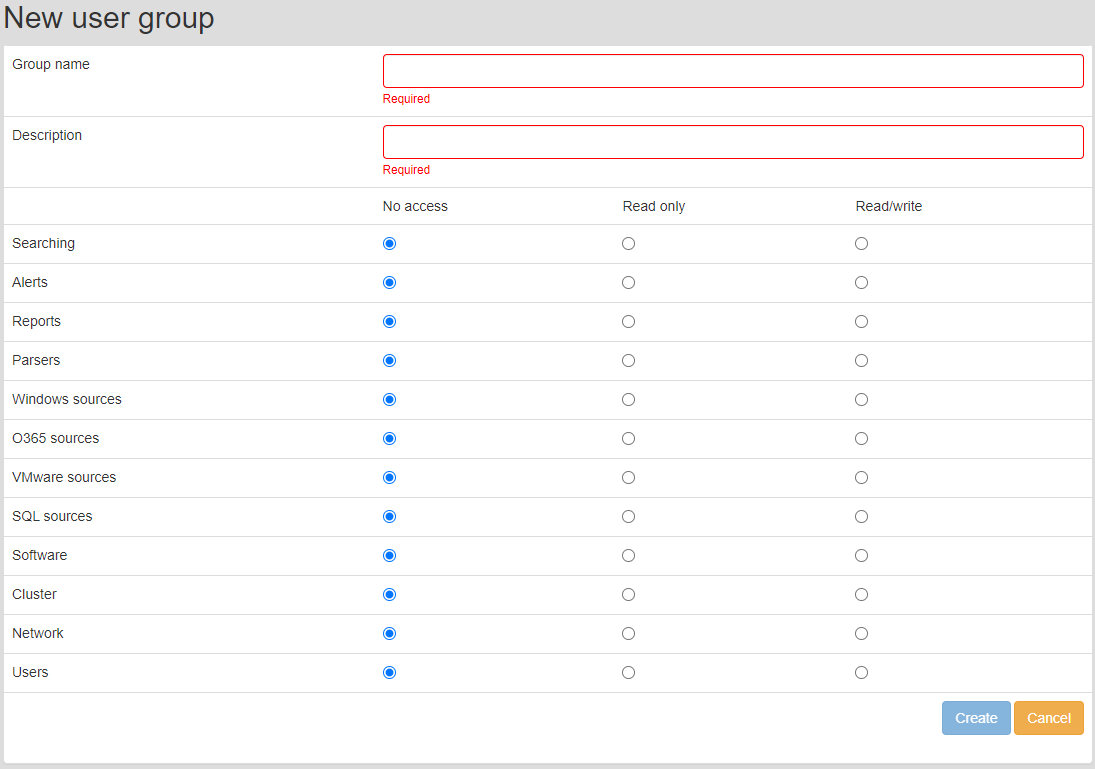
After clicking on the plus icon it displays a form where you can create a new system group.

Creating new system group
Enter the basic information:
- Group name: Short name of the system group.
- Description: Short description of the system group.
In the next part of the form, you enter a range of permissions on individual parts of the application. Each line contains one part of the application, where you can set the permission - no access, read only or full access.
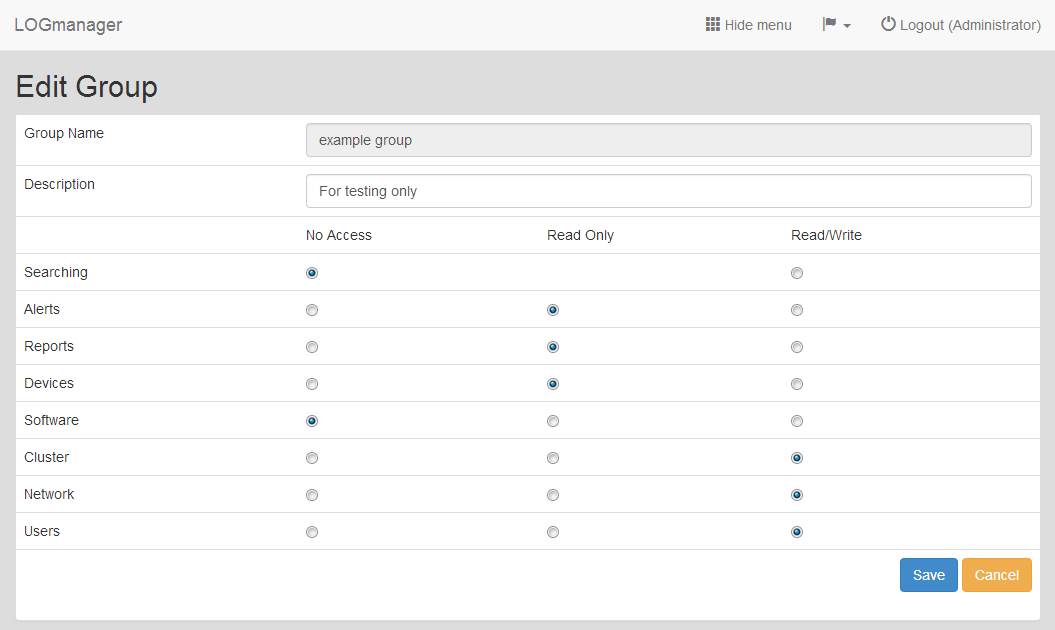
To edit a system group, click on the blue pencil icon for the selected group.

Editing system group
When editing, you can change all fields as in the case of creating a new group, except for the Group Name.
If you set the permissions for the user in the Searching category to “Read Only”, they will only be able to browse open indexes. This restriction is set so that a user with the given permission does not overload the Logmanager server with unwanted queries. If you still want to allow them to open older indexes, set the permission to “Read/Write”.
Chose a group you want to delete and click the cross icon.

Deleting system group
If the group contains a user, you receive the error message that the group is assigned to someone.
In this case, one must first make removal of a group for users who use it and then you can delete the group.