Cisco SMB
Products from the Cisco Small Business range support logging to the Logmanager server. To set-up the logging, follow these steps.
-
Log in to the web administration:
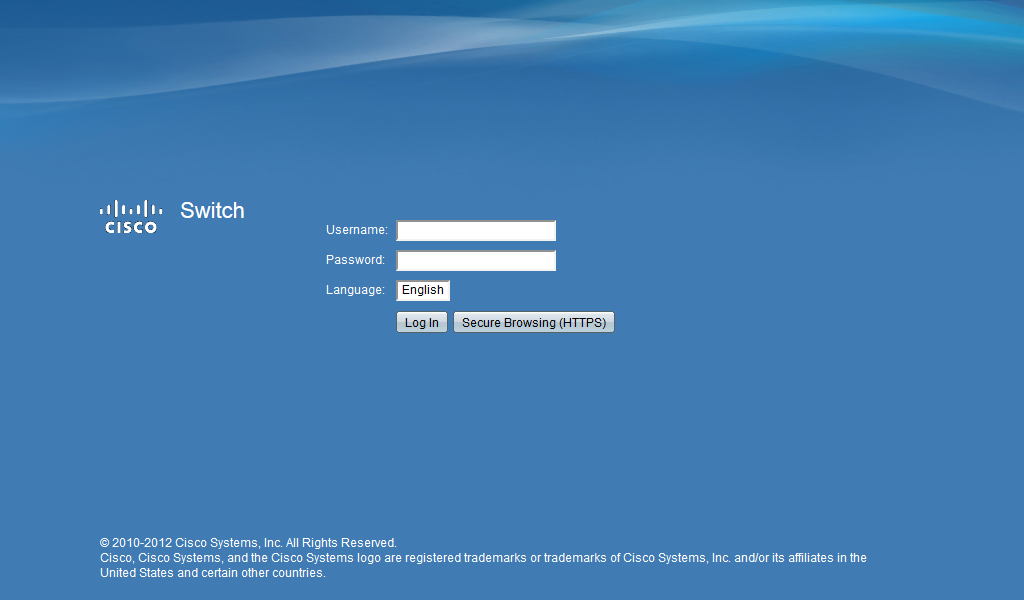
Login to web administration
-
In the left menu, select
Administration ‣ System Log ‣ Log Settings. Allow logging by clicking on Enable at Logging, and select the required level of logs in the bottom part.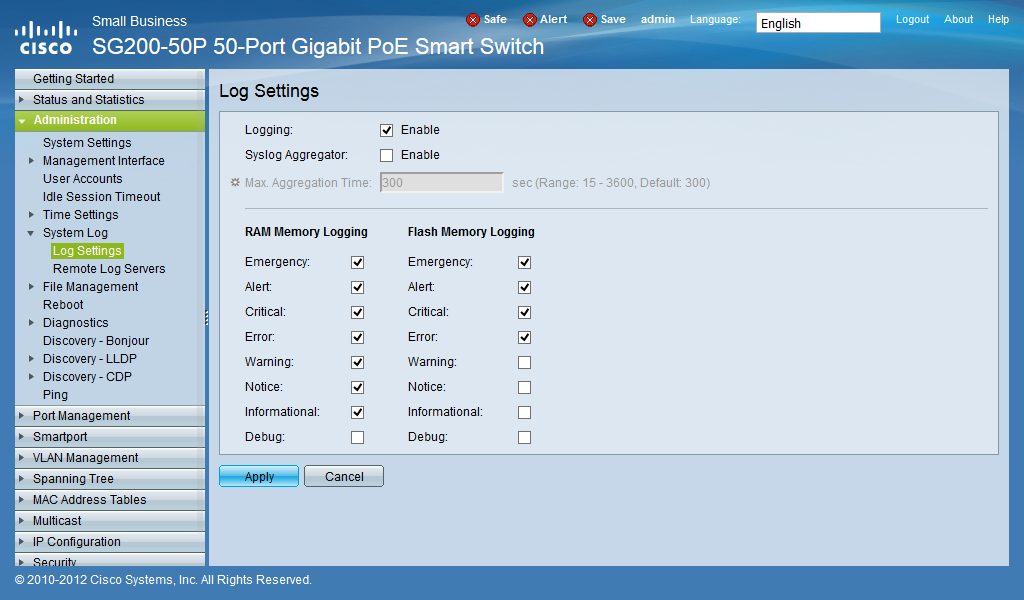
Log Settings
-
Select
Remote Log Serversand click the button Add.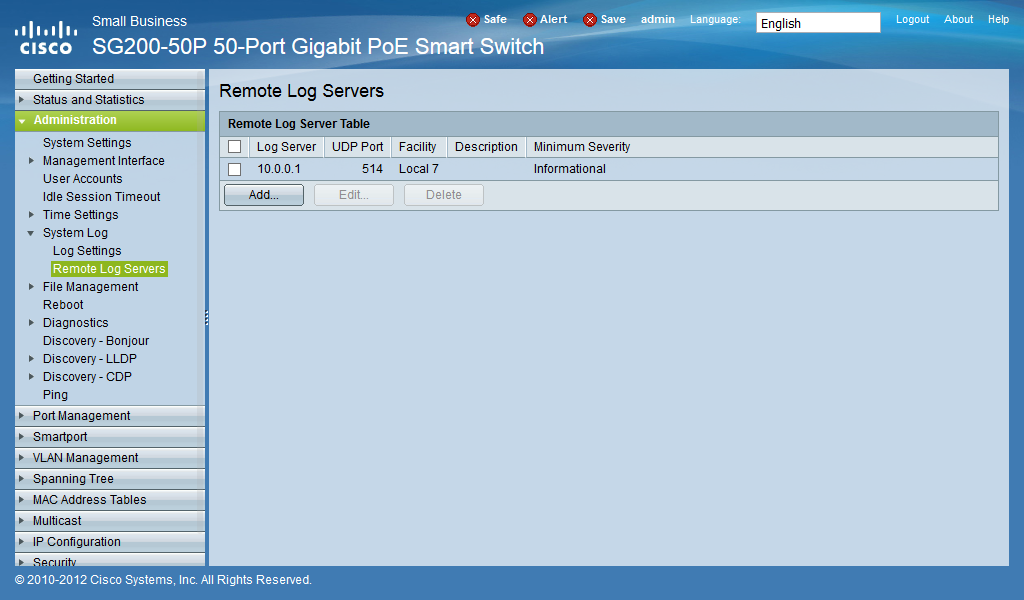
Remote Log Servers
-
In the pop-up window, set:
- Server Definition: set By IP address
- IP Version: choose version version 4 or version 6
- Log Server IP Address/Name: set <Logmanager_IP_address>
- UDP Port: 514
- Facility: Local 0
- Minimum Severity: choose minimal level of logging
Logmanager_IP_address is the IP address of your Logmanager server.
Add a new remote log server
Select Apply to save the configuration.
You can also make configuration via CLI
- config term
- logging host <Logmanager_IP_address>
- do wri mem
To successfully receive and process logs, you need to set up the log classification correctly. The easiest way to do this is to add the IP addresses of the device (or your chosen subnet) to the appropriate IP prefix list.
Some devices in Logmanager do not have their own IP Prefix list and you need to create one or use a classifier - Classification. However, an IP prefix list exists for this device, so follow the procedure below.
-
Log in to the web administration of Logmanager.
Add the IP address of the CiscoSMB device to the IP prefix list “Cisco-SMB”.
Go to IP prefix lists in Tools:
- Locate the IP prefix list Cisco-SMB.
- Edit with the blue pen icon.
- Add the IP addresses of your Cisco SMB devices. (Alternatively, you can use your chosen subnet)
This is the standard for most Logmanager installations. If you use your own classifiers or are unsure about something, please contact your certified partner or help@logmanager.com.