Certificates
In the TLS certificates section, you can manage TLS Certificates for your Logmanager system. You can import existing certificates or create your own Certificate Signing Requests (CSR) and self-signed certificates.
Once you have your certificates ready, you can apply them to individual Logmanager services under Settings ‣ Security ‣ TLS ‣ Certificates. By default, Logmanager provides its own self-signed certificate for all services, but you can replace it at any time.
We recommend that you use a server certificate signed by a trusted certificate authority (CA). While you can use self-signed certificates, they are generally considered insecure for production environments.
You can upload certificates and keys in PEM and DER formats.
Certificates
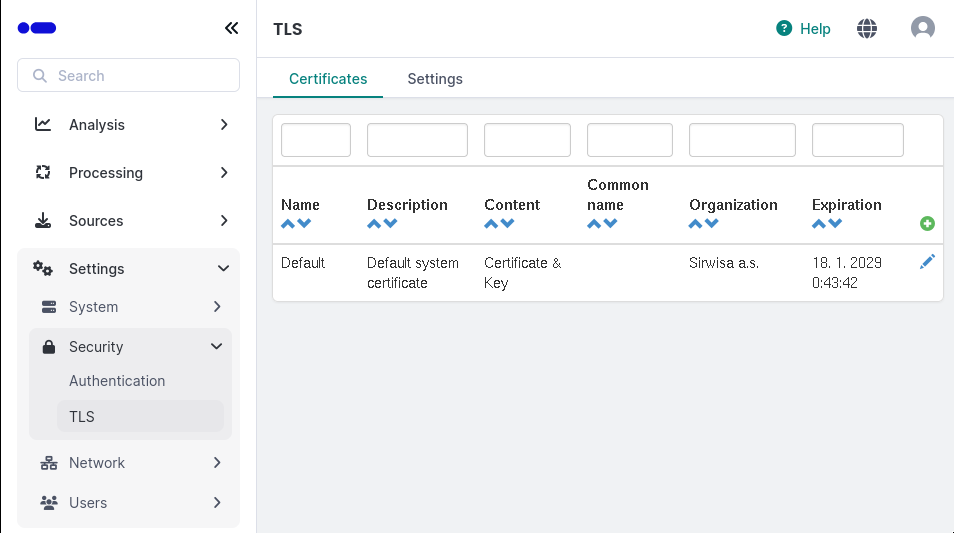
In the main table, you can view the following information:
- Name: The name you assigned to the certificate.
- Description: A brief summary of the certificate.
- Content: The actual data stored in the certificate.
- Common name: The primary CN name.
- Organization: The name of your organization.
- Expiration: When the certificate will expire.
You can use the filter fields above the table to find specific entries. You can filter by any single column, or use multiple filters simultaneously to narrow down your results (e.g., filtering by both Name and Common Name).
To upload a certificate, fill out the following fields in the form:
- Name: Enter a unique name for the certificate.
- Description: Add any relevant notes.
- Type: Select Certificate.
- Certificate file: Choose the file you wish to upload from your local machine.
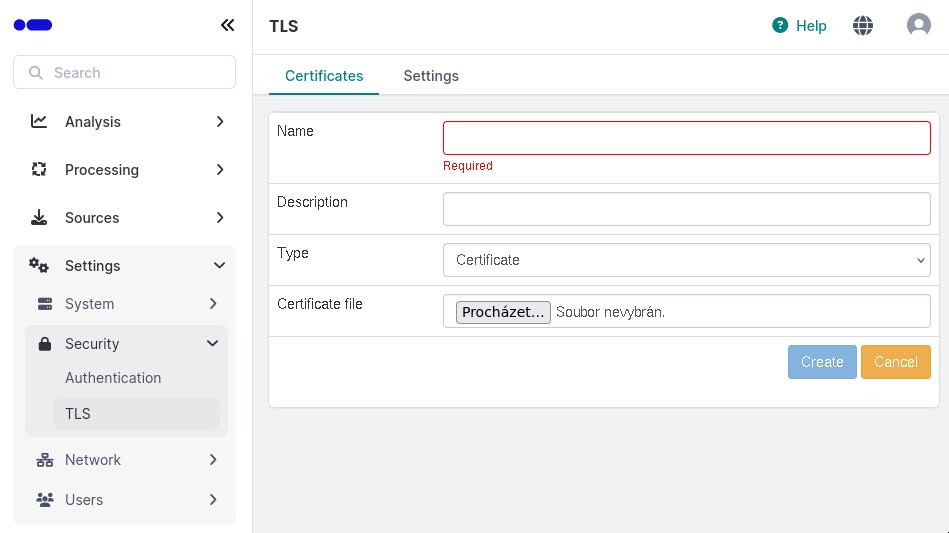
Adding a certificate
Once you create the record, Logmanager automatically checks the validity of your uploaded file. If you upload a corrupted file or use an unsupported format, you will receive a certificate error.
To upload a private key, enter these details into the form:
- Name: Enter a unique name for the key.
- Description: Add a description.
- Type: Select Key.
- Key file: Choose your key file.
- Password: If your key is encrypted, enter the password here.
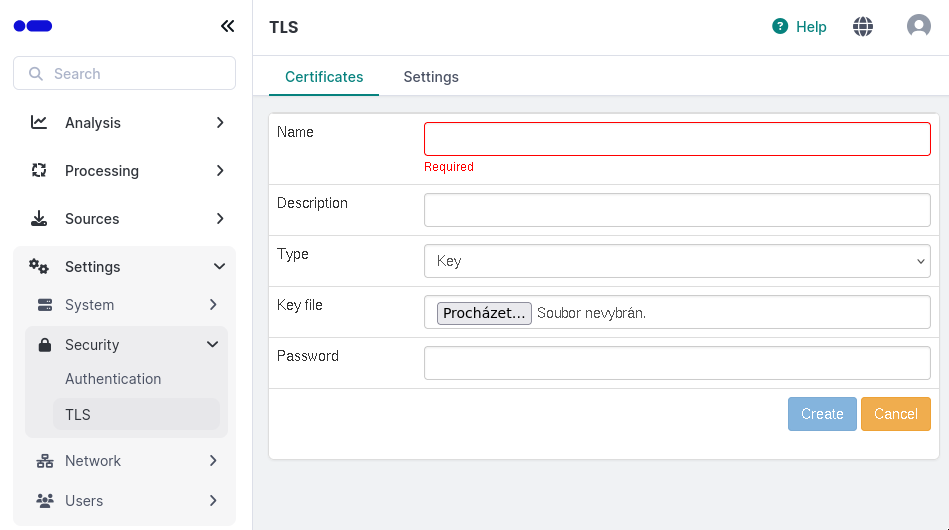
Adding a new key
The system will validate your key after you save the record. If the key is in the wrong format or corrupted, you will see a key error.
You can use this option to upload a separate certificate file and a separate key file at the same time. Logmanager will merge both files into a single certificate entry for you.
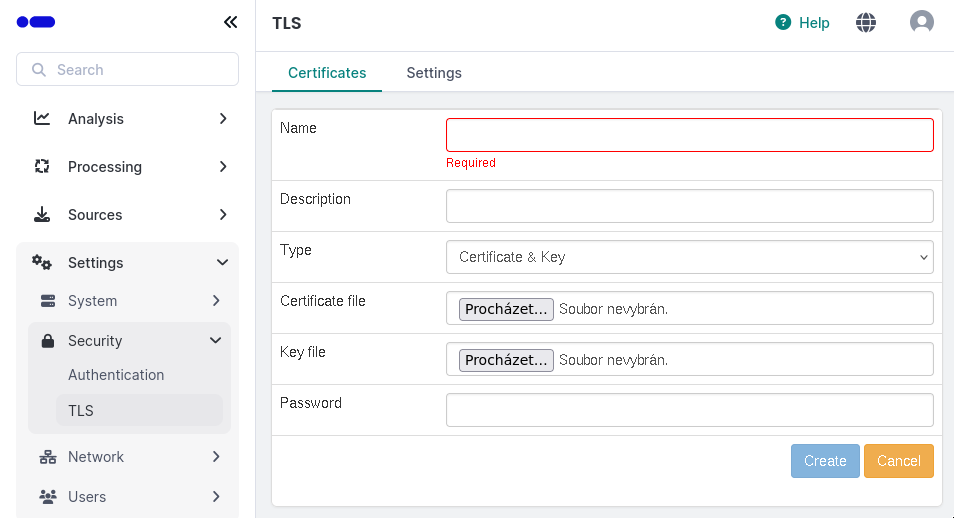
Adding a new certificate and key
To increase your server security, we recommend you follow these steps:
- Create a new CSR request in Logmanager.
- Use the generated public part to request a certificate from your chosen Certificate Authority.
- Insert the signed certificate you receive from the CA back into the CSR request.
To start the request, fill in the following:
- Name / Description: Identify your request.
- Type: Select Request.
- Common name: Your domain name.
- Subject alternative name (Type/Value): Choose FQDN or IP address and enter the corresponding value.
- Organization / Unit: Your company name and department.
- Locality / State / Country: Your physical location details.
- Email address: (Optional) Your contact email.
- Password / Confirm password: (Optional) Protect your request with a password.
- Size: Choose the security/encryption level for the certificate.
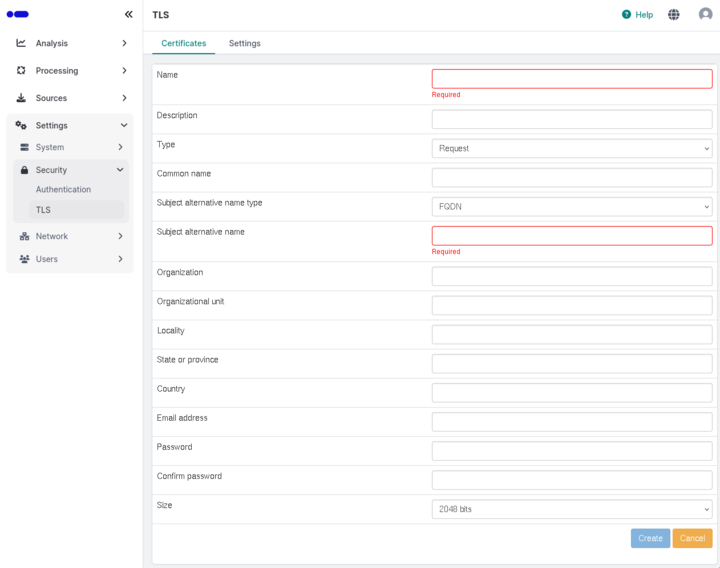
Creating a new CSR request
You can create a self-signed certificate directly in Logmanager. Keep in mind that browsers and other services will not trust this certificate automatically because it isn’t signed by a CA.
Fill in the following details:
- Name / Description: Identify the certificate.
- Type: Select Self-signed.
- Common name: Your domain name.
- Subject alternative name: Enter your FQDN or IP.
- Organization details: Enter your company, unit, city, state, and country code.
- Lifetime: Enter the number of days you want the certificate to remain valid.
- Size: Select the security level.

Creating a self-signed certificate