Email message templates
Logmanager uses templates to define the format of email messages sent by the Rules function. You use the Rules section to set the conditions used to generate email, while the content and appearance of those generated emails are defined by templates.
Templates use the template language described here: Template Designer Documentation.
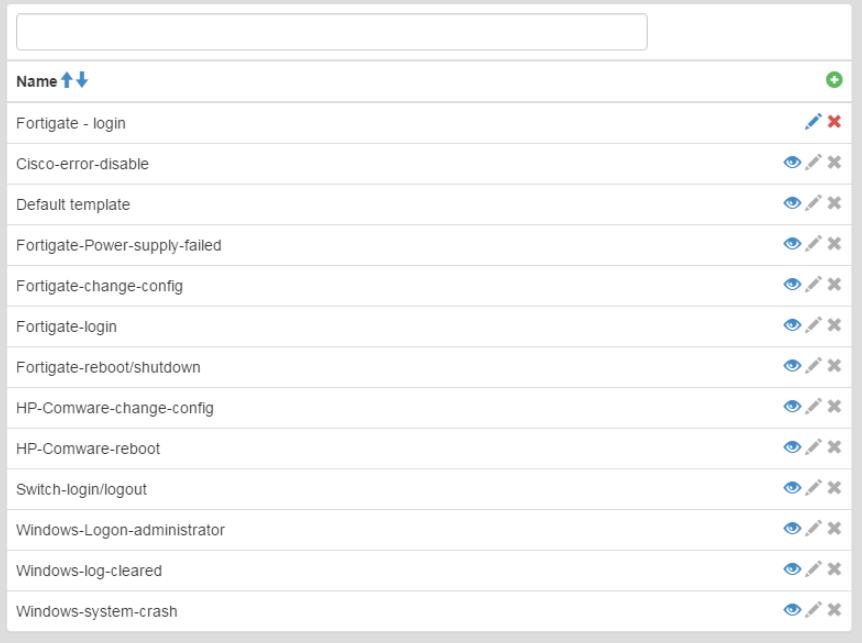
Templates
The table displays built-in templates and templates defined by users. Only the name of the template is shown in the list. You can use the row above the table for searching.
You can add, view, edit, and delete templates.
- Click the green Plus icon in the upper right corner of the main table.
- Enter the following details:
- Name: Enter a name for the template.
- Subject: Enter the email subject. You can use template language here.
- Body: Enter the email message content. You can use template language here.
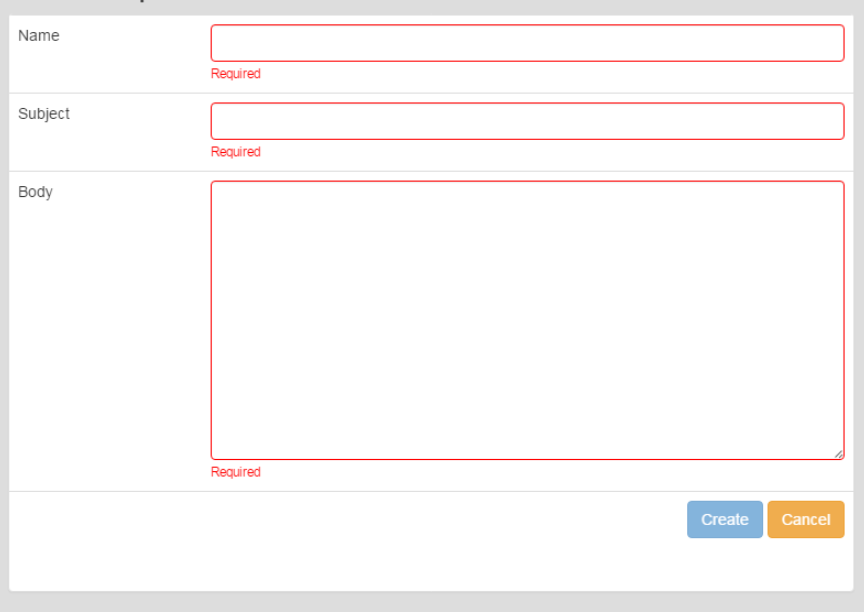
Adding a template
All form fields are required.
To modify a template, click the blue Pencil icon shown in every row.
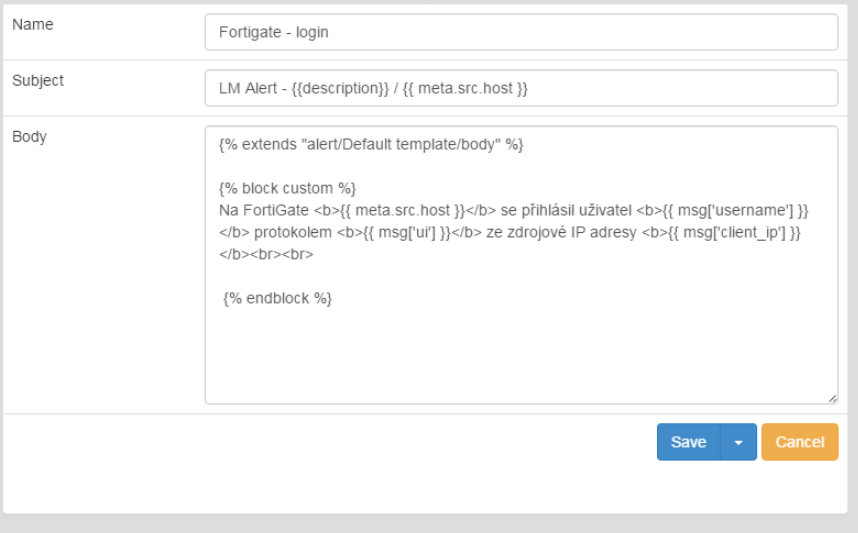
Editing a template
The form is identical to the one used for adding a new template.
- Save: Click the Save button to apply your changes.
- Cancel: Click the Cancel button to discard the form and return to the main table.
Note: You cannot edit or delete integrated (built-in) templates.
To remove a template, click the red Cross icon shown in every row.
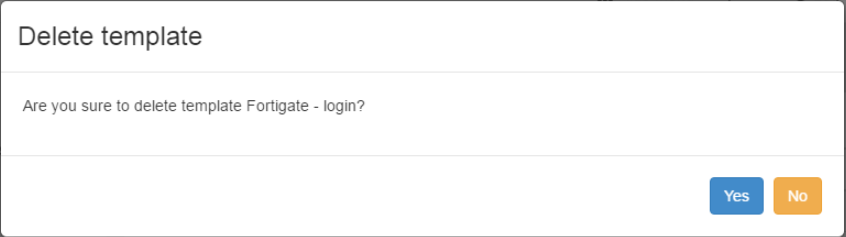
Deleting a template
After you click the icon, a delete a template dialog opens and shows the template name for verification. Confirm the action to proceed.
Every message stored in the Logmanager system contains values stored in variables. You can write any of these variables from those messages into your template.
The basic statement of the variable is made by writing:
{{ msg['variable_name'] }}
- Get username from msg:
{{ msg['username'] }}
- Get value from message meta information:
{{ meta.src.host }}
- Equivalent record for meta:
{{ meta['src']['host'] }}
To extract a special variable, you can use:
{{ msg['variable_name@extended']['parameter_name'] }}
Example: View country by IP address
{{ msg.dst_ip@ip.country_name }}
Equivalent record:
{{ msg['dst_ip@ip']['country_name'] }}
You can use a log-in to a FortiGate device as an example. Fill in the following in the “new template” form:
- Name: FortiGate logon
- Subject:
LM Alert - {{ description }} / {{ meta.src.host }}
Generated email subject example:
LM Alert - FortiGate logon / 192.0.2.1
- Body:
On FortiGate <b>{{ meta.src.host }}</b> user logged in <b>{{ msg['username'] }}</b>
with protocol <b>{{ msg['ui'] }}</b> from source IP address <b>{{ msg['client_ip'] }}</b>.
Generated email body example:
On FortiGate 192.0.2.1 a user example has logged in with protocol from source IP address 192.0.2.101.
Description of steps:
{{ description }}: Writes the value filled in the description field of the Edit alert section.{{ meta.src.host }}: Writes the IP address of the FortiGate device.{{ msg['username'] }}: Writes the user name from the message that caused the alert.{{ msg['ui'] }}: Writes the protocol used by the user to log-in.{{ msg['client_ip'] }}: Writes the IP address from which the user logged in.
The system allows you to compose templates. You can create a universal template. For example, one that writes out the source message that caused the notification.
Base Template Example:
{% extends "base.html" %}
{% block content %}

{% block custom %}{% endblock %}

<strong>Message data</strong>
<table style="border: 1px solid rgb(0, 102, 153); border-collapse: collapse; overflow: hidden;">
    <tr><td style="border: 1px solid rgb(0, 102, 153);font-weight: bold;">Name</td><td style="border: 1px solid rgb(0, 102, 153);font-weight: bold;">Value</td></tr>
    {% for key in msg|sort %}
    <tr>
        <td align=left style="border: 1px solid rgb(0, 102, 153);">{{ key|e }}</td>
        <td align=left style="border: 1px solid rgb(0, 102, 153);">{{ msg[key]|e }}</td>
    </tr>
    {% endfor %}
</table>

{% endblock %}
You can use this in another template by using the custom block to add arbitrary text:
{% extends "alert/example template/body" %}

{% block custom %}

On FortiGate <b>{{ meta.src.host }}</b> user logged in <b>{{ msg['username'] }}</b>
with protocol <b>{{ msg['ui'] }}</b> from source IP address <b>{{ msg['client_ip'] }}</b>.

{% endblock %}
Sent email will look like this:
On FortiGate 192.0.2.1 a user example has logged in with protocol from source IP address 192.0.2.101.
Message data:
| Name | Value |
|---|---|
| device_id | ID123456 |
| device_name | fortigate-firewall |
| dst_host | 192.0.2.1 |
| … | …. |